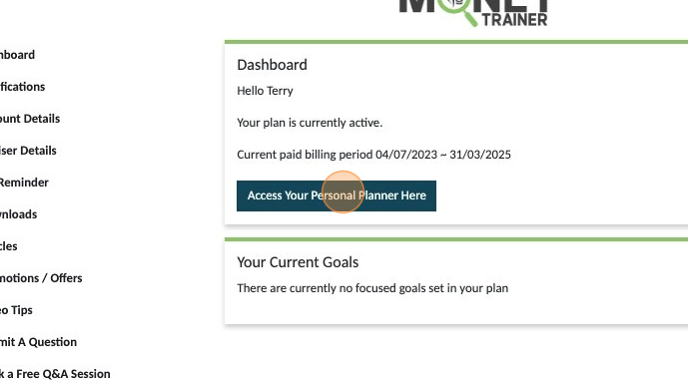
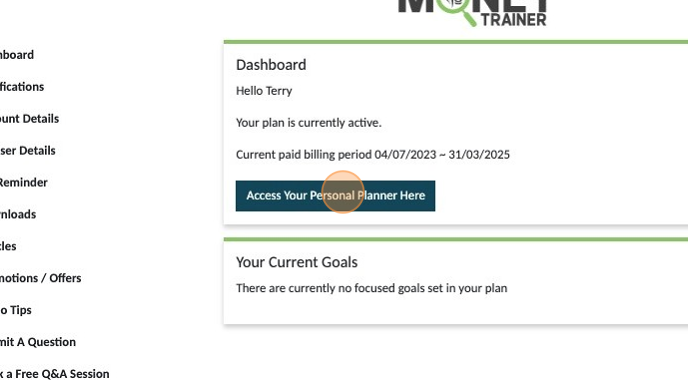
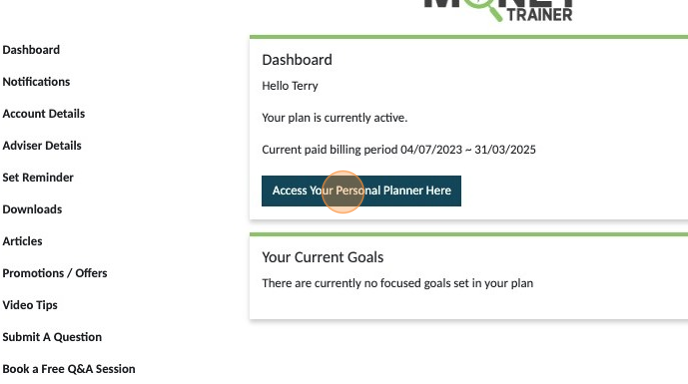
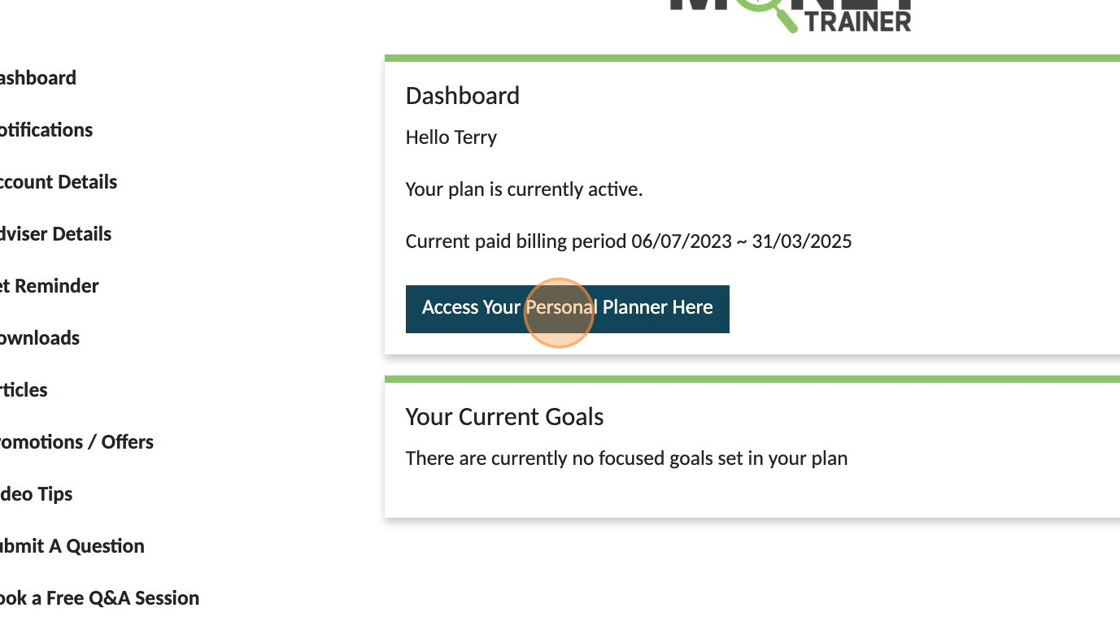
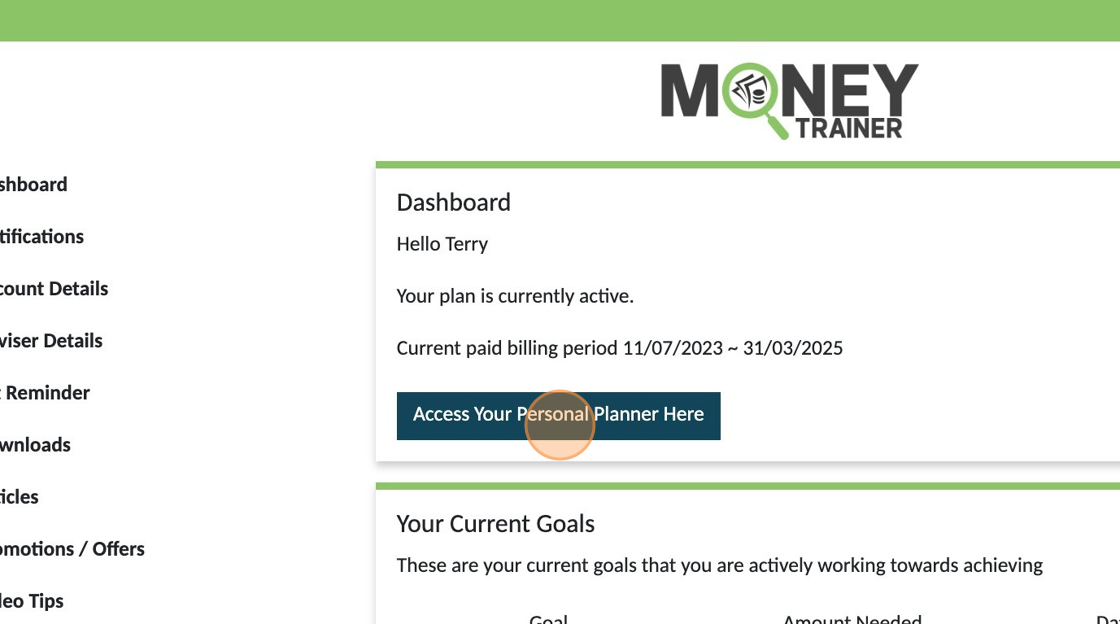
1. The 'Dashboard' section at the top tells you your current 'Paid' period. Your subscription auto-renews at the end of the current paid period unless you cancel your subscription prior to the end date showing on your dashboard. To cancel head to the 'Account Details' tab.

2. This is where you also access the button to go to your personalised budget/plan.

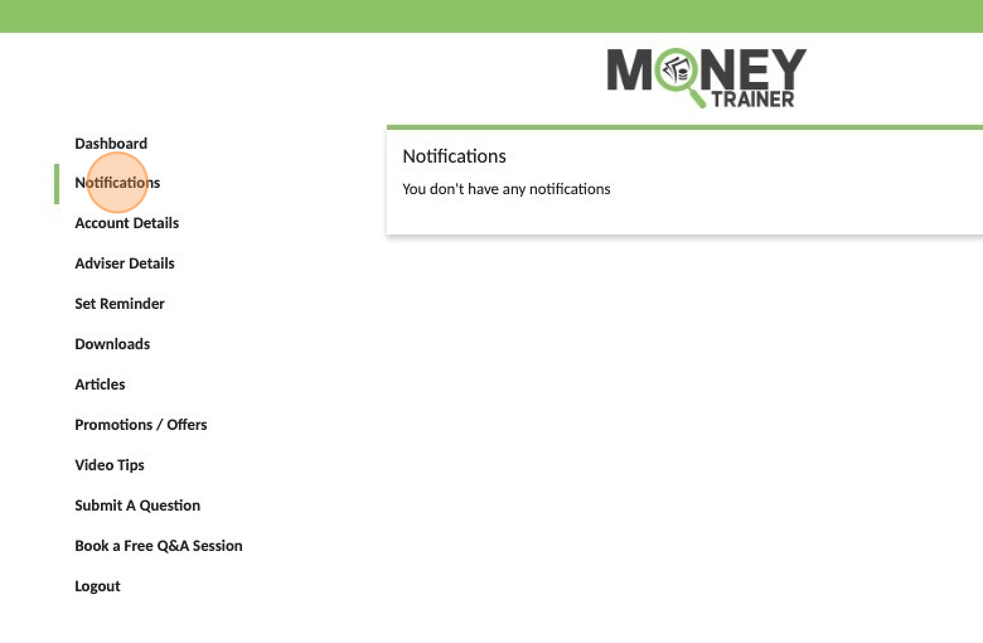
3. "Notifications". from time to time you may get notifications from us. A bell will appear if you have any notifications you haven't yet reviewed.
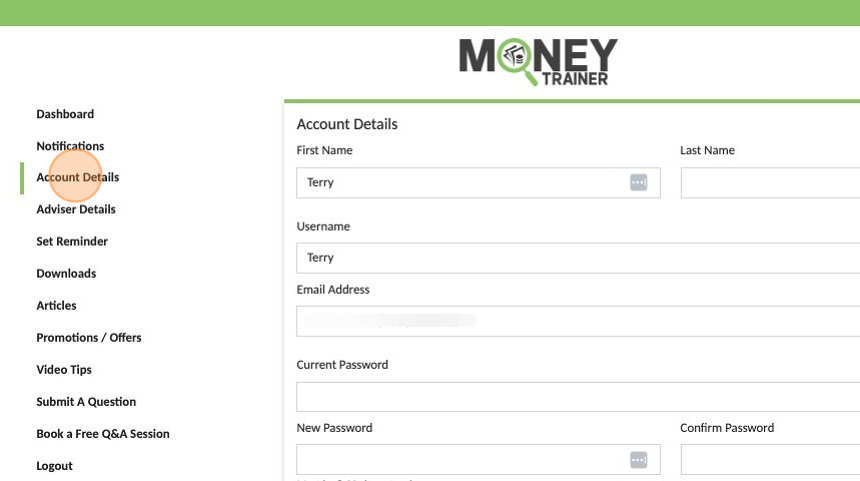
4. "Account Details" This is where you can update your personal details, change your password or cancel your subscription.
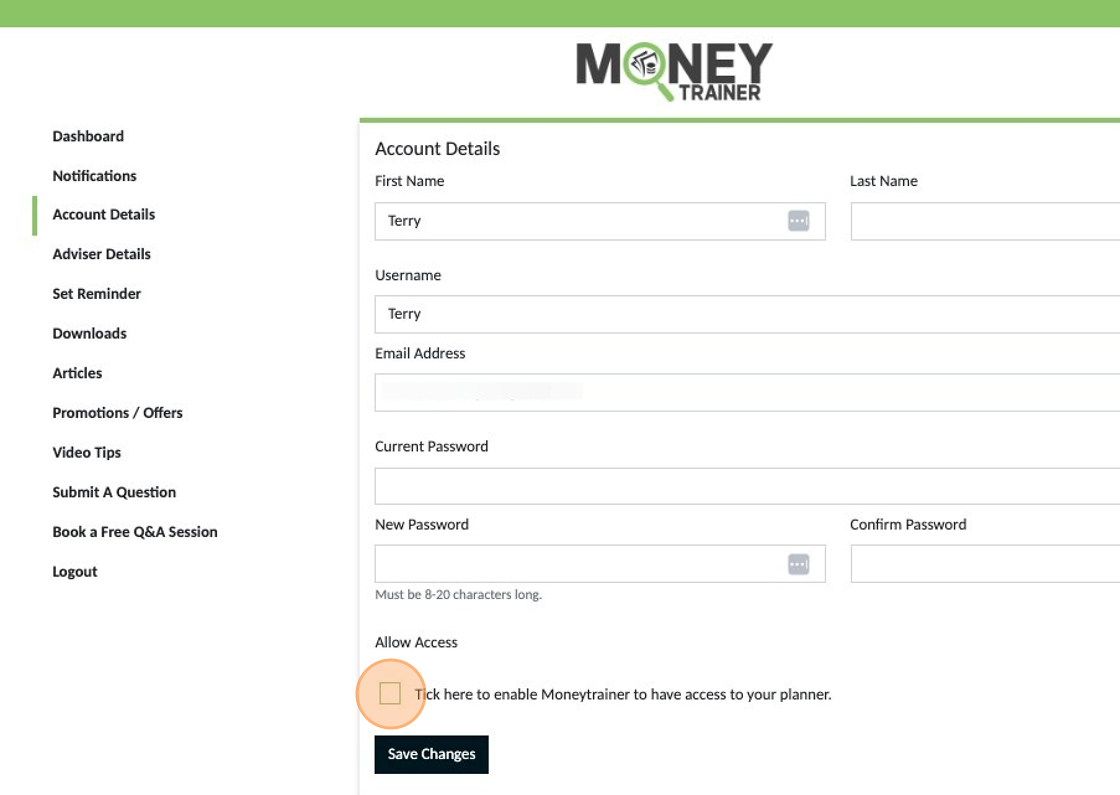
5. Tick here and then click 'Save Changes' ' to enable Moneytrainer to have access to your planner if you are getting one on one coaching or need to for customer support. Unticking and saving will remove access for Moneytrainer.
6. "Adviser Details" if you have provided the details of your advisor when you registered and they are noted in our system as a regular referrer to Moneytrainer, thier details will automatically populate in this section for easy access for you in the future. You can request any details in here be removed at any stage using the 'Submit a Question' function.

7. "Set Reminder" can be used for any reminders you may want to ensure you don't forget important tasks.
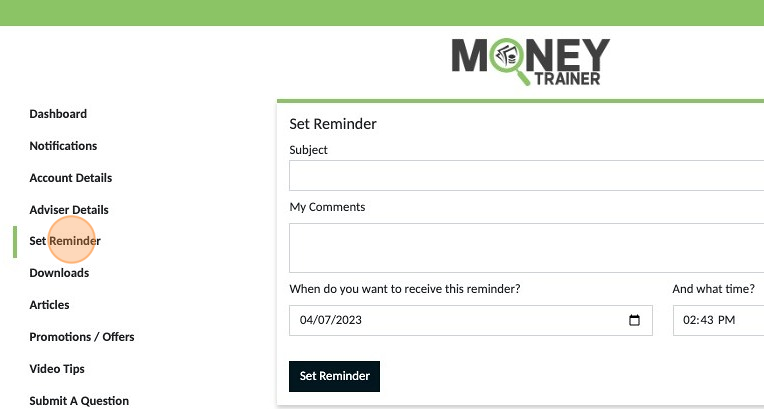
8. Add details for your reference, set the date and time you want the reminder sent and then click 'Set Reminder' and we will email you when the time arrives.

9. Any current reminders can be viewed here or cancelled if you no longer require them.

10. "Downloads" This section is where you will find any PDF copies of your budget if you have downloaded a file at any time.
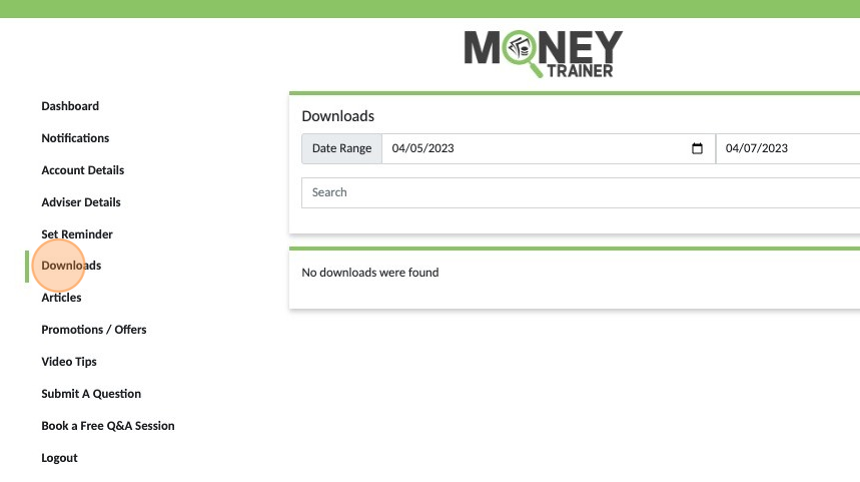
11. Your downloaded documents will appear here in date order, most recent at the top. You can use the search function if you have a large number of documents to locate the one you want easier.

12. "Articles" this is where we keep a range of helpful articles for your reference. We normally send you a notification if a new article is added. If there is a topic you would like us to write about and add, please let us know through the 'Submit a Question' function and we will do our best to provide one.
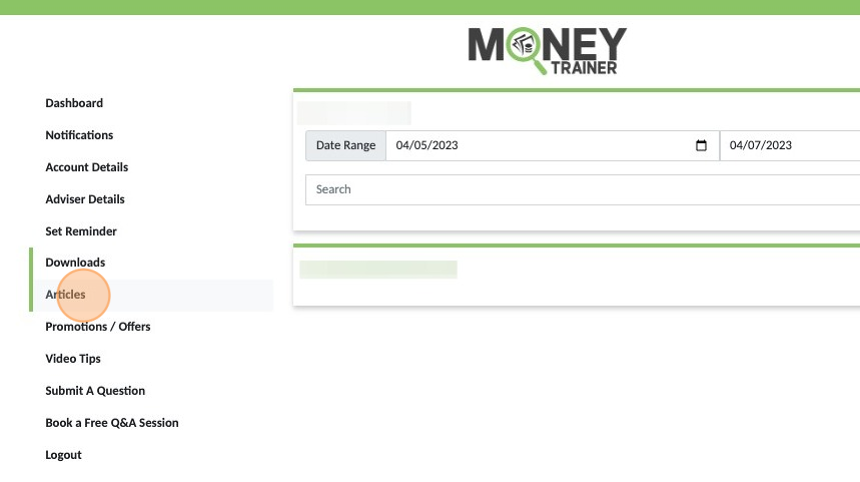
13. Articles are listed, click the title to read the article. You can also search by topic using the category buttons at the top.

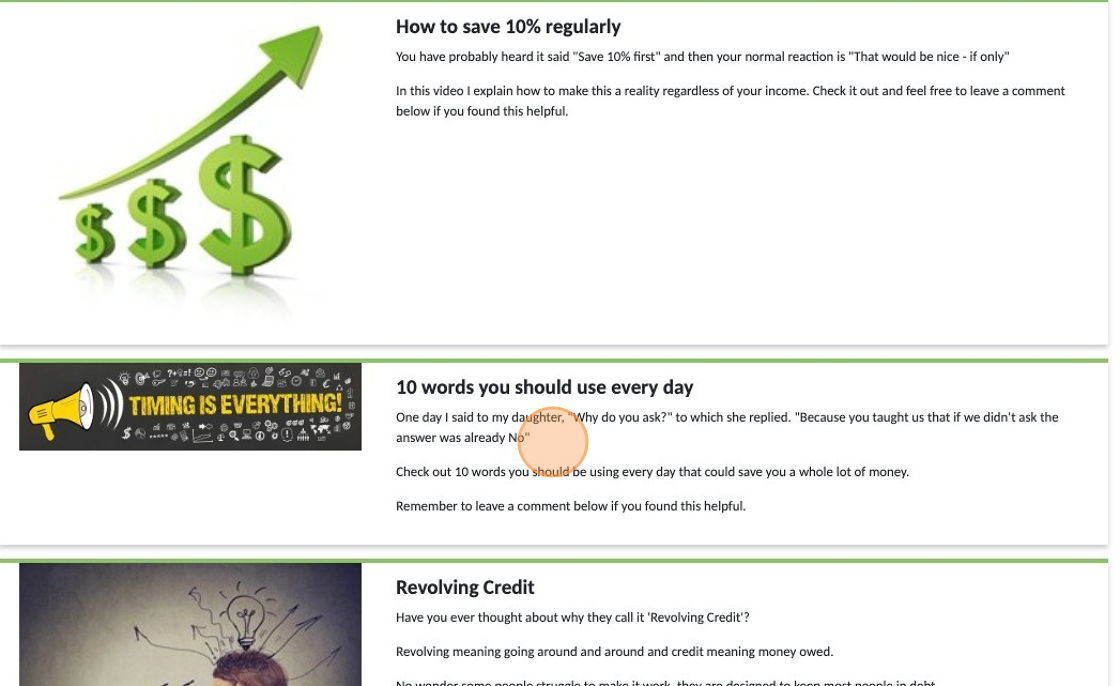
14. "Video Tips" this is where we keep a range of helpful short videos for your reference. We normally send you a notification if a new article is added. If there is a topic you would like us to cover and add, please let us know through the 'Submit a Question' function and we will do our best to provide one.

15. Click on the one you want to watch
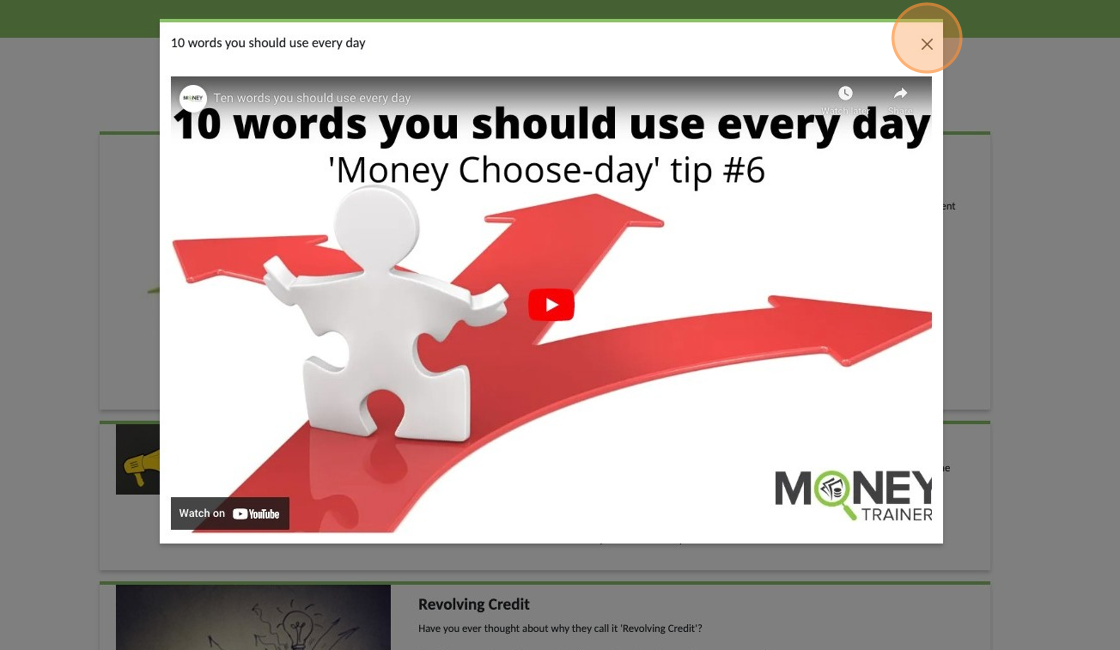
16. The video will appear for you to watch, click the X to close the video when you have finished watching.
17. Click "My Account" in the top left corner at any time to return to your dashboard from either the Articles or Videos page.
18. "Submit A Question" If you have questions or something isn't functioning properly use this feature to reach out so we can assist.
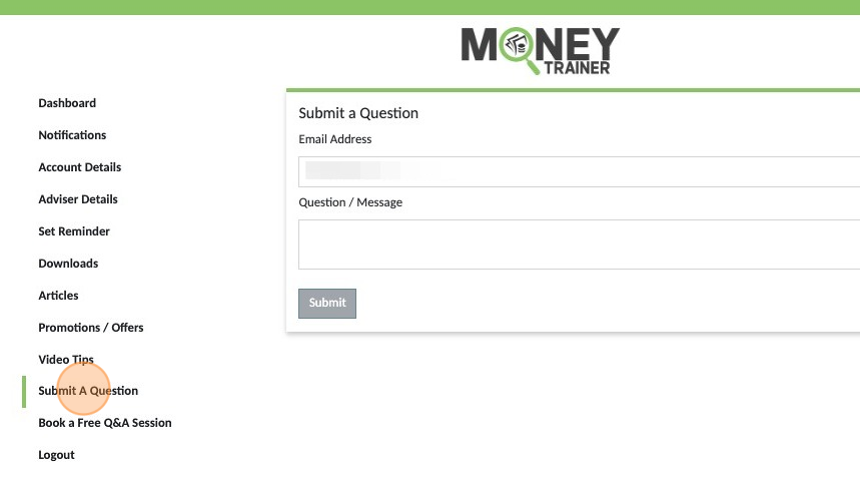
19. Your email will auto populate, add your message and click 'Submit' A copy is emailed to you also for your records.
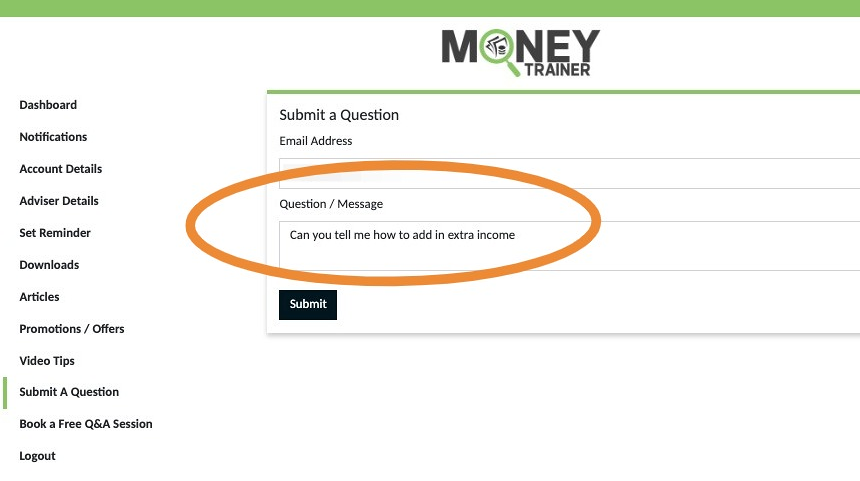
20. "Book a Free Q&A Session" Sometimes the help needed is more than just a simple question. You can use this function to book a zoom video call if your really stuck and need some personal guidance.
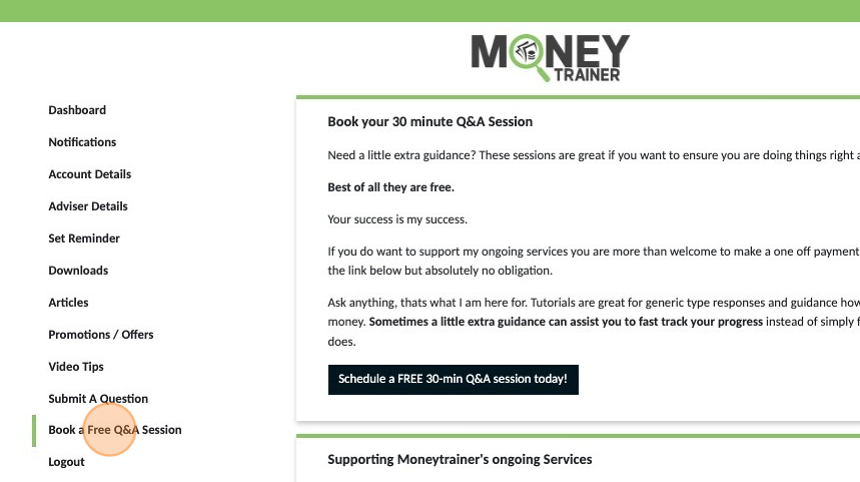
21. Click "Schedule a FREE 30-min Q&A session today!" and you will be redirected to a booking calendar where you can select a suitable date and time.
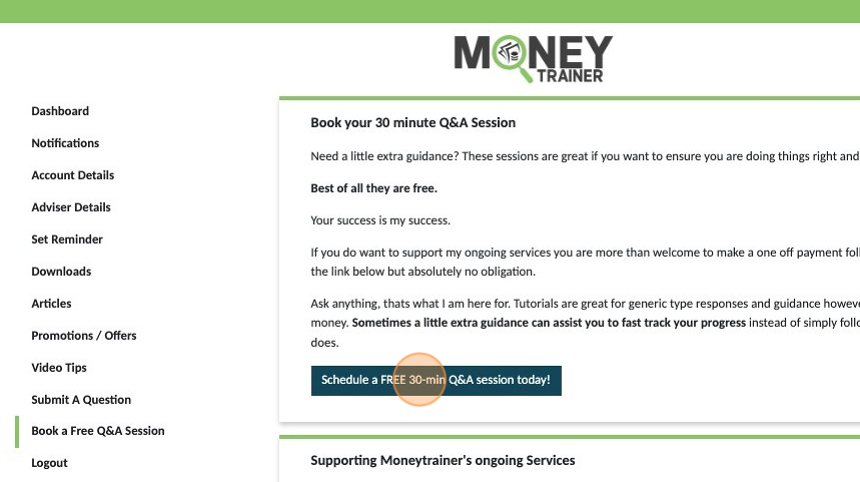
Q&A Sessions are free however we do ask you to consider making a one of payment of $10, $20 or $50 following the call if you received value from our help. This is totally voluntary and future support is never compromised if no payment is made. These payments simply help us continue developing enhancements and features that benefit our users.
22. Click "Dashboard" from any of the sections to return to your main dashboard area.
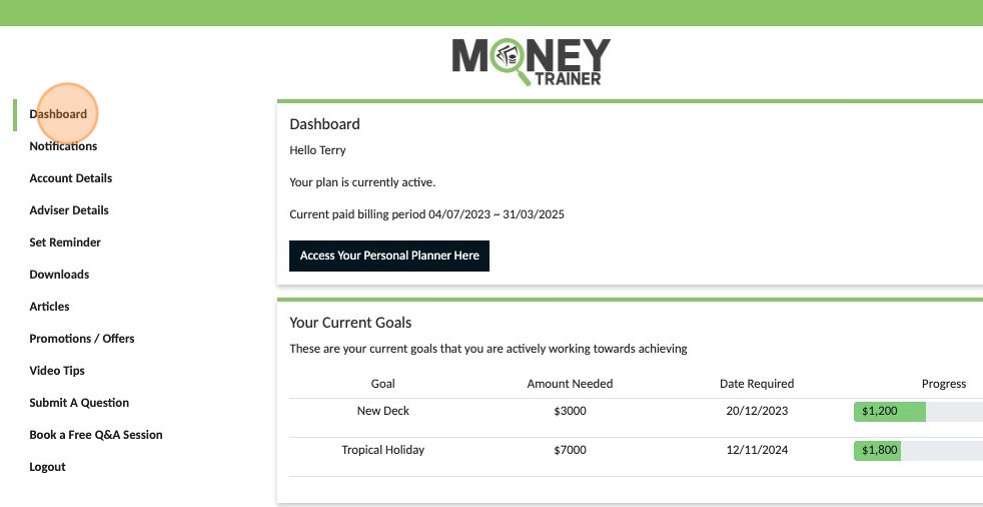
23. 'Current Goals' If you have added any of your identified goals to your plan they will appear herewhen you log in. You can see the goal, amount you are aiming for, date you want to achieve it by and progress so far towards the goal.

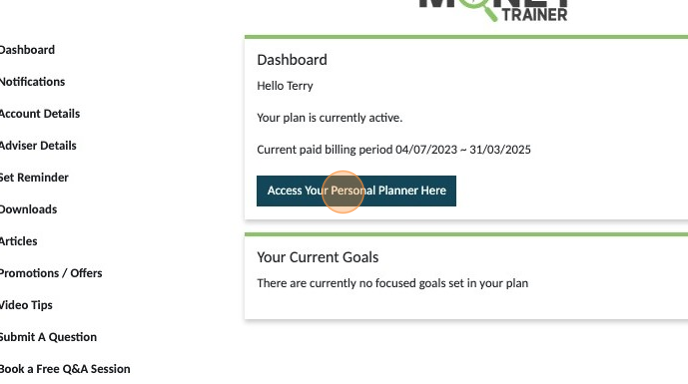
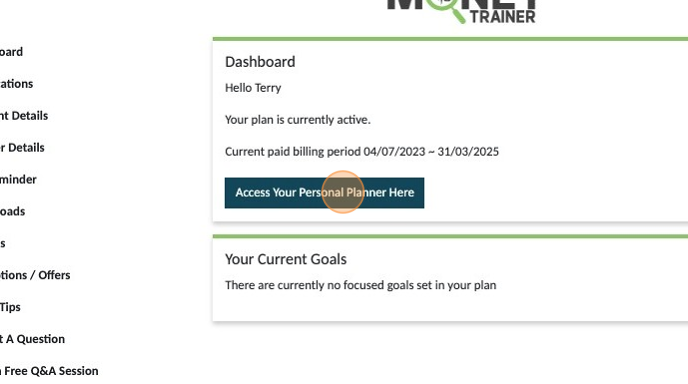
1. Click "Access Your Personal Planner Here"
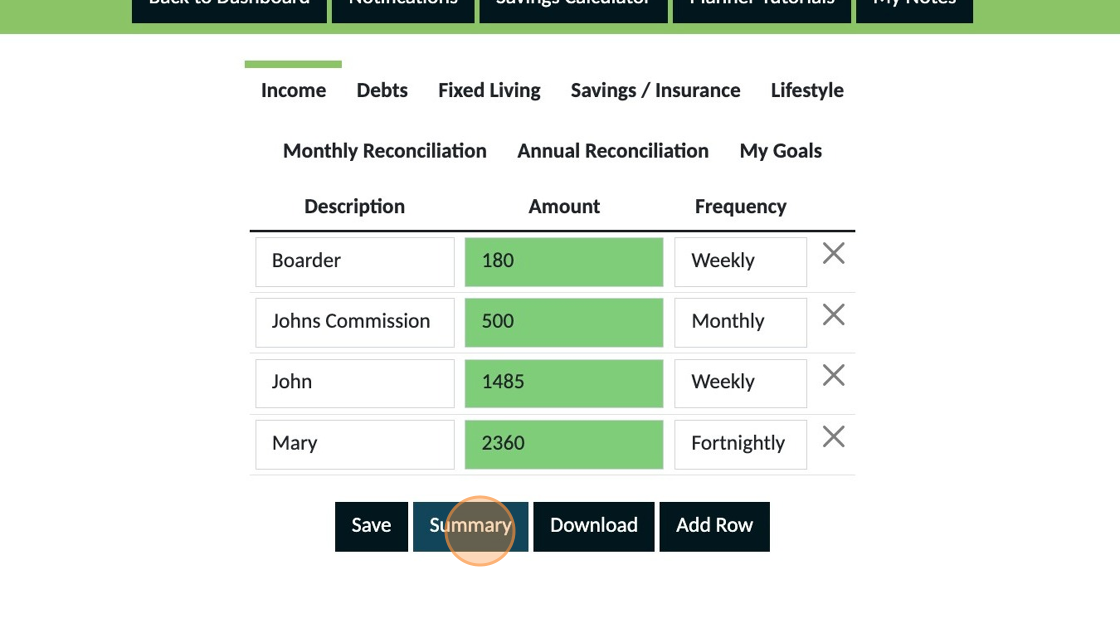
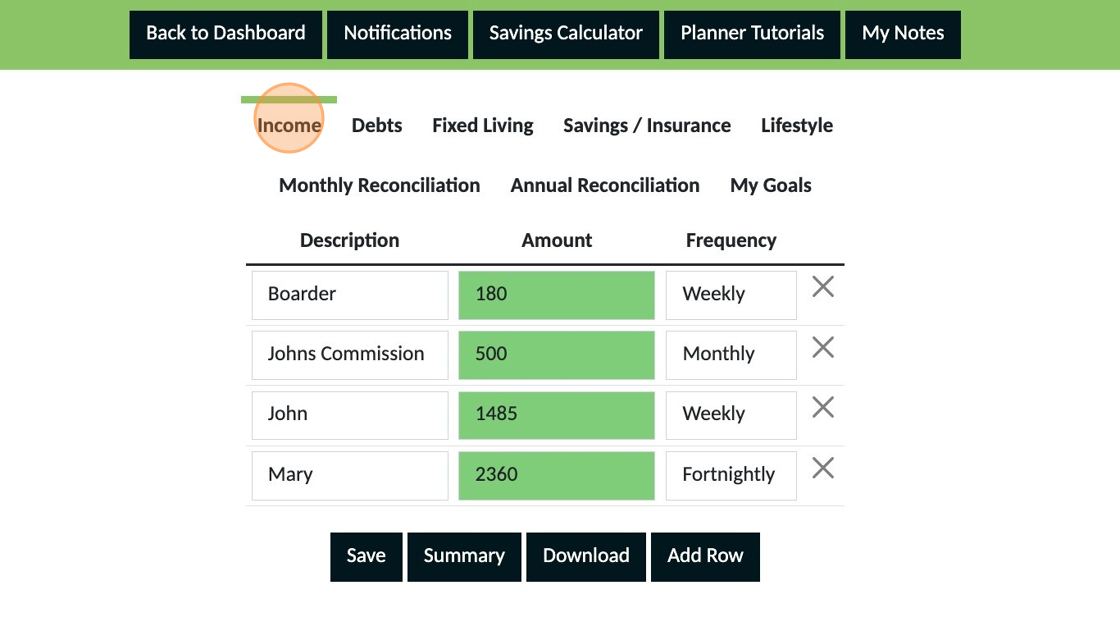
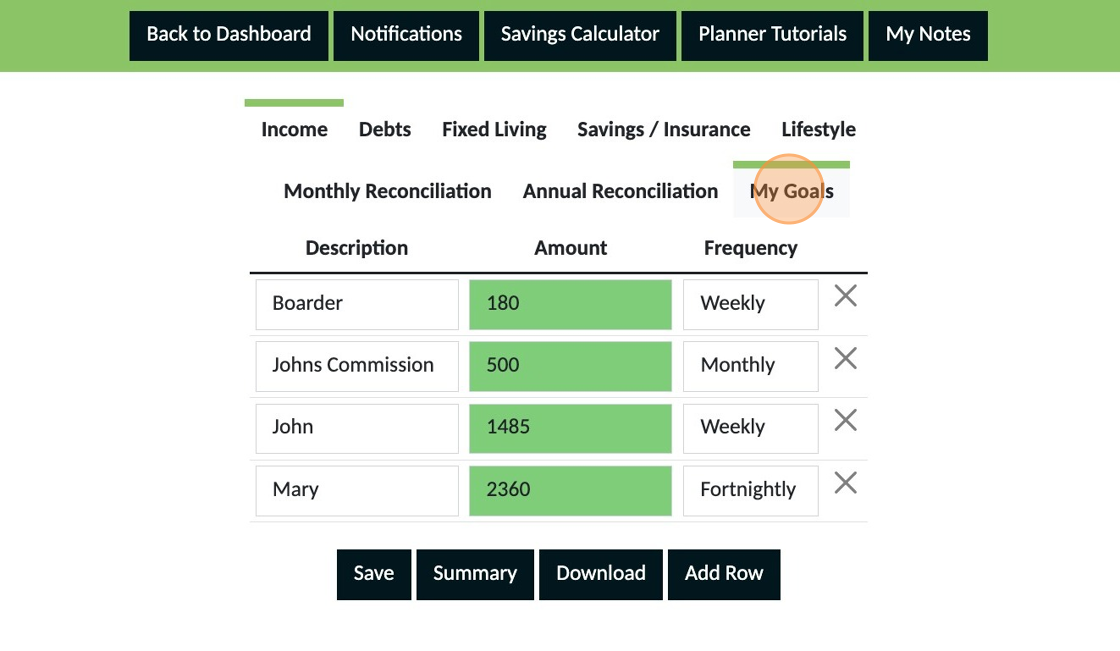
When ever you access your planner from your dashboard you will always be directed to your 'Income' section.
2. Click the "Name" field and enter your name.

3. Click the "Amount" field and enter the amount you get paid.

4. Using the dropdown option, select the frequency that you get paid.
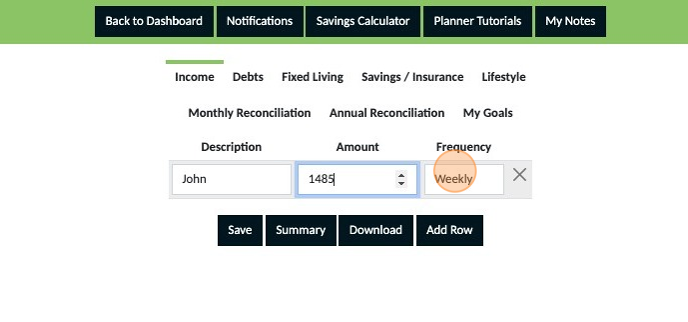
5. Click "Save"

6. Click "Add Row" if you have other income sources to be added to your plan.

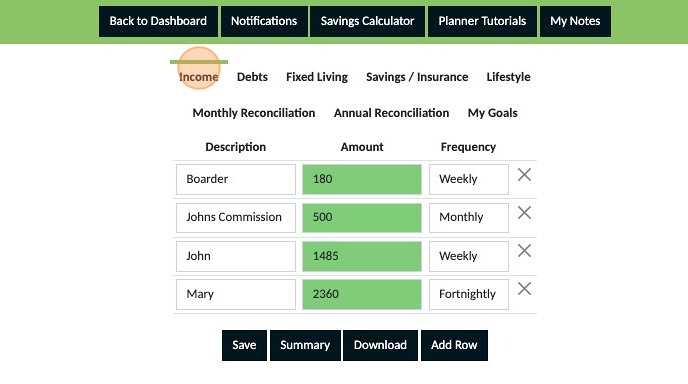
7. Add the details for other consistent income sources and save these too.

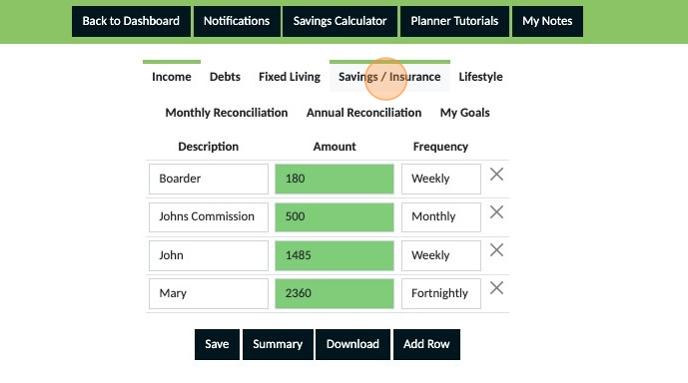
Not all income is consistent. If you have irregular or not so reliable income from sources such as bonuses or commissions add these on a seperate row. This means you will be able to monitor the consistency of this income so that it can be used strategically and not relied on.
8. Add a description, amount and frequency for each area of irregular income and then save your entries
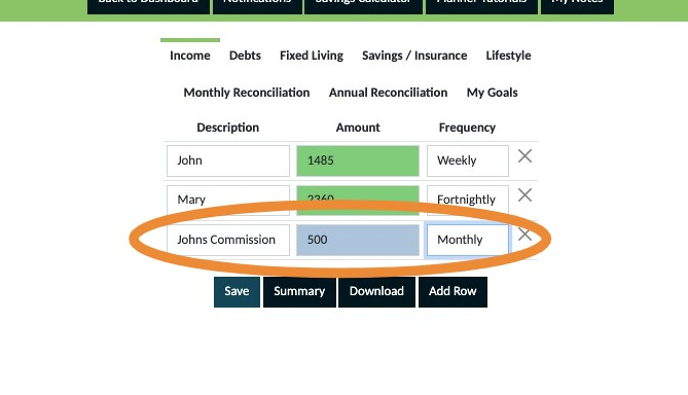
What if the commission amount fluctuates? Commissions and bonuses often fluctuate. If this is what happens for you we recommend you add a row and leave the amount blank. This will allow you to track what you get over a period of time before starting to rely on this money in your plan. Alternatively you can go back over 3 months bank statements, calculate how much you were paid then divide this by 3 to create a monthly average and add that amount to your plan.
9. Income from a boarder or flatmate
10. Create a seperate row for each boarder or flatmate. Use a description which identifies this clearly for you (their name is best) and then the amount and frequency you get this money. Then save.

Once you have completed adding all of your income sources make sure to click 'Save' Note If any of your entries still appear blue, they are not yet saved. Saved entries appear green so ensure everything is green before navigating away from this section of your planner.
1. Click "Access Your Personal Planner Here"
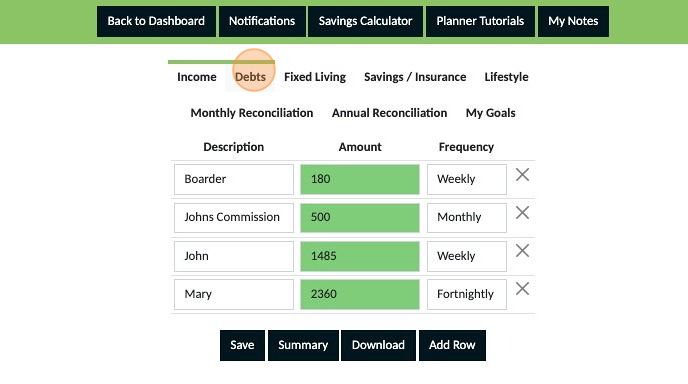
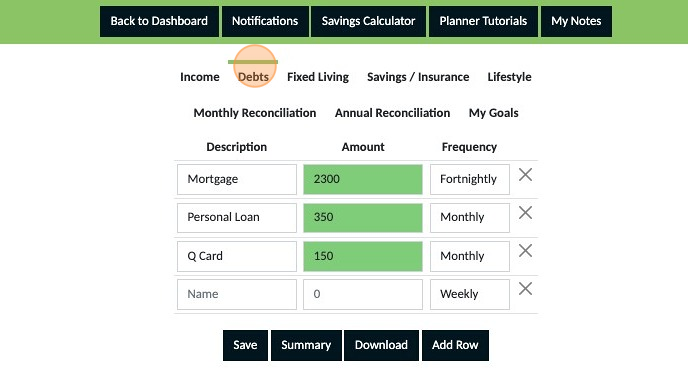
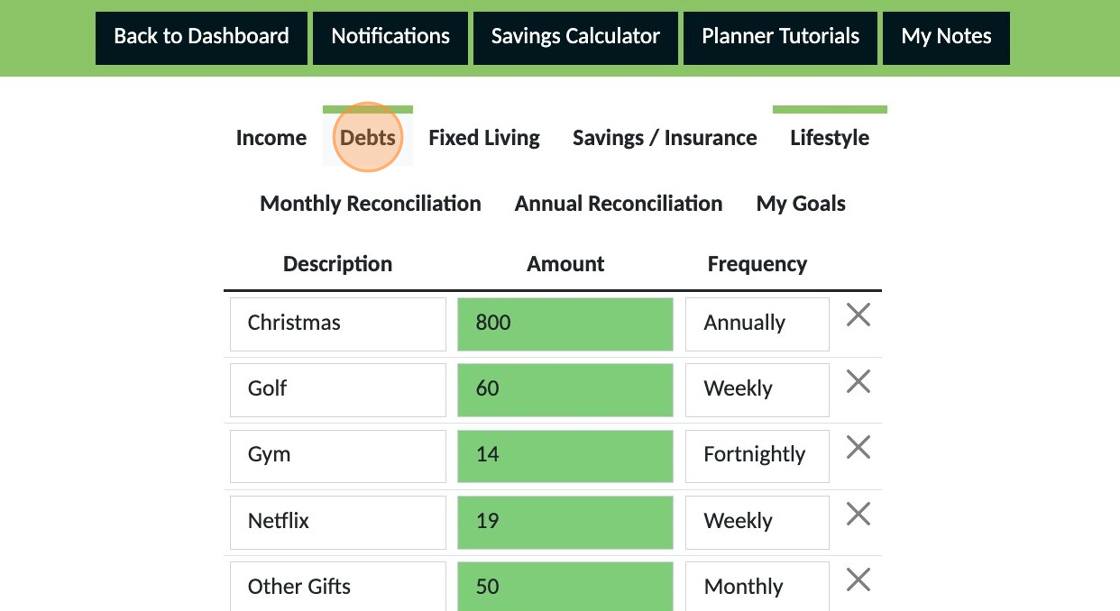
2. Click "Debts"
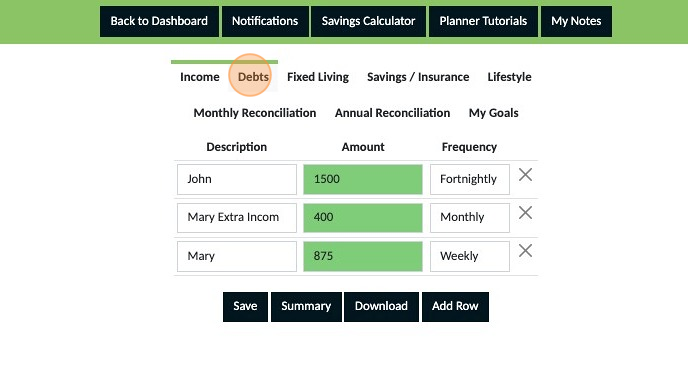
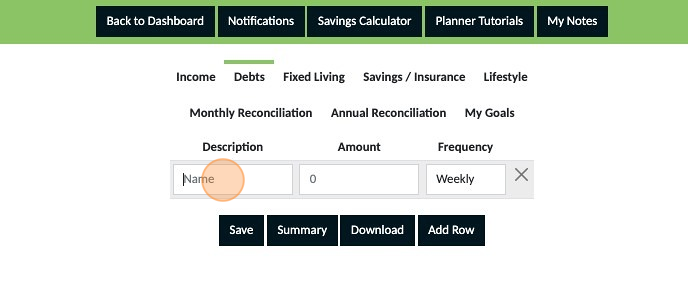
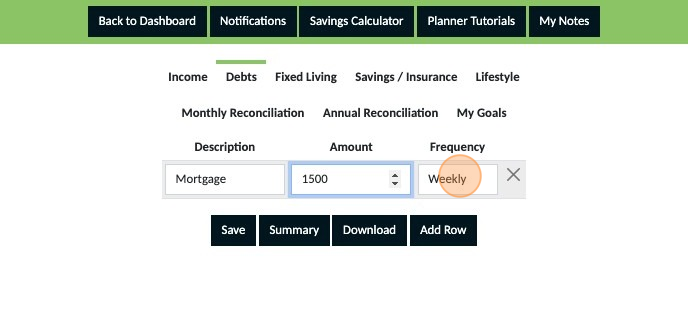
3. Click the "Name" field and enter a description
4. Click the "Amount" field and enter the payment amount

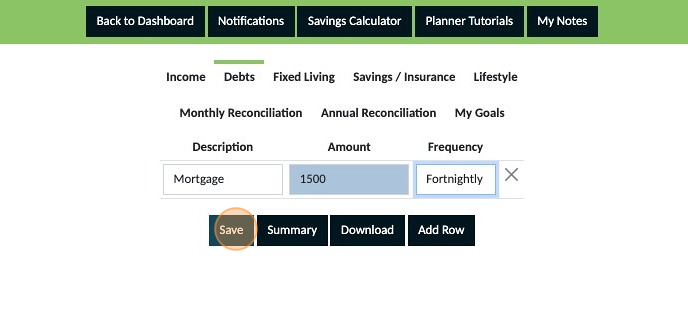
5. From the dropdown select the frequency for the payment. Note: Use the frequency for how your payments happen, do not average payments. If your payments occur weekly select weekly, if they occur monthly select monthly etc.
6. Click "Save"
7. Click "Add Row" to add more debt commitments
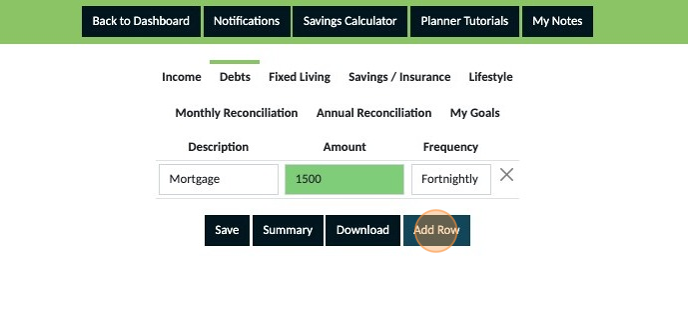
8. Once you have completed adding all of your debt commitments make sure to click 'Save' Note If any of your entries still appear blue, they are not yet saved. Saved entries appear green so ensure everything is green before navigating away from this section of your planner.

If you want to remove an expense click the 'X' on the right hand side of the expense you want to remove. DO NOT REMOVE: Only use this function if you need to remove an expense when you are first creating your budget. If you have been using a budget for a period of time and no longer have an expense refer to the guide 'How to remove expenses from my plan'
1. Click "Access Your Personal Planner Here"

2. Click "Income" and double check that you have added all of your reliable income sources and are happy with what you have saved.
If anything needs to be changed it is important you make and save these changes before you proceed to the next step.
3. Click "Debts" and double check that you have added all of your debt commitments and are happy with what you have saved.
If anything needs to be changed it is important you make and save these changes before you proceed to the next step.
4. Click "Savings Calculator"

5. A Pop Up will appear indicating your minimum saving capacity amount. Make a note of the amount then click 'OK' to close the pop up.
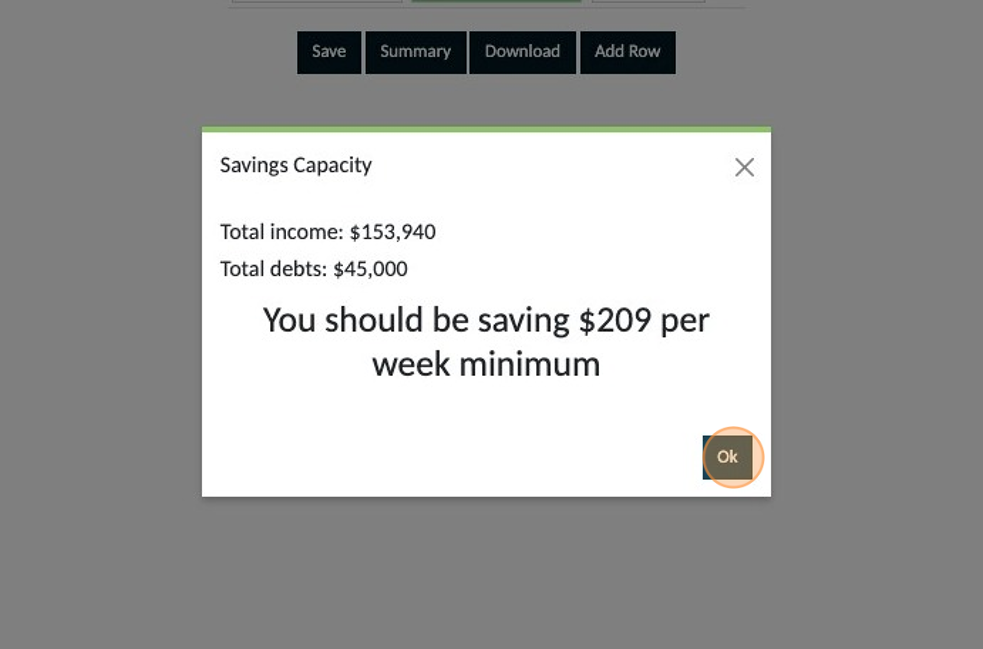
Regardless of your pay cycle this will be your weekly savings amount and not an amount you save each time you get paid. Refer to "How to set up my bank accounts' to understand where you transfer this amount to each week.
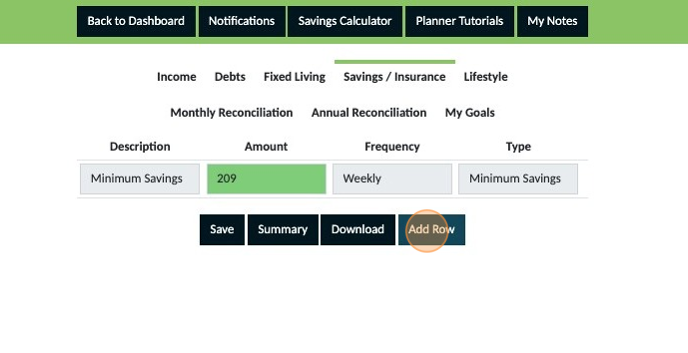
6. Click "Savings / Insurance"

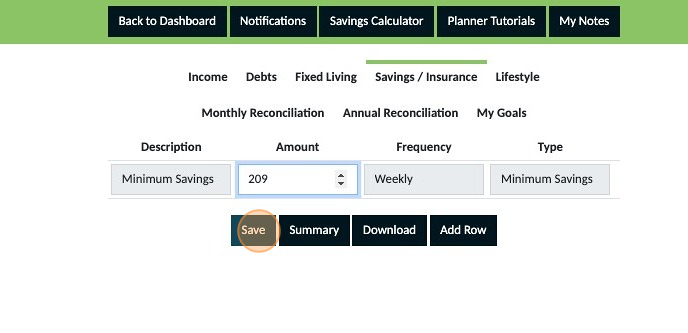
7. A row is automatically created for your minimum savings. Add the amount that was shown on the pop up previously.
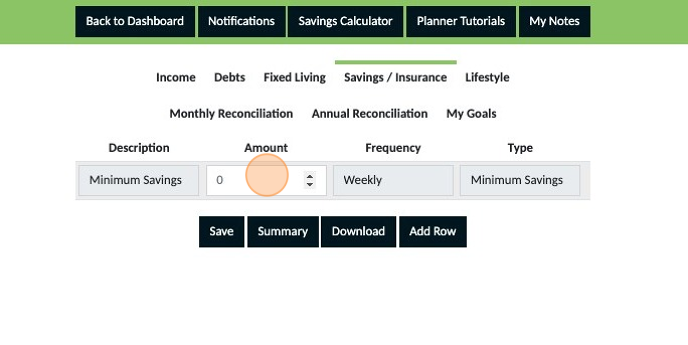
8. Click "Save"
At this stage you are only creating your budget. If when completed there is opportunity to be saving more that can be added to this section of your plan later as additional savings. Think of your minimum savings as the start of building your 'Rainy Day' or 'Emergency' fund.
1. Click "Access Your Personal Planner Here"
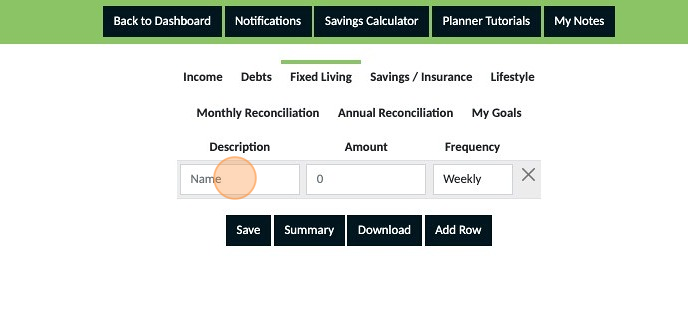
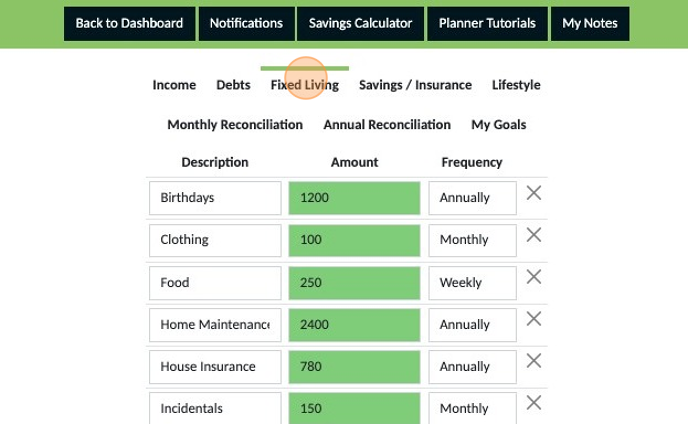
2. Click "Fixed Living"
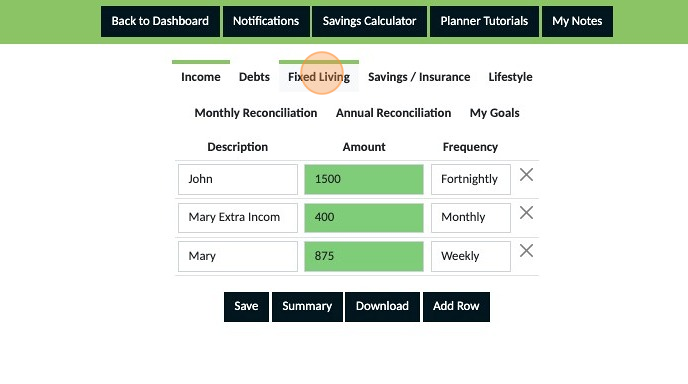
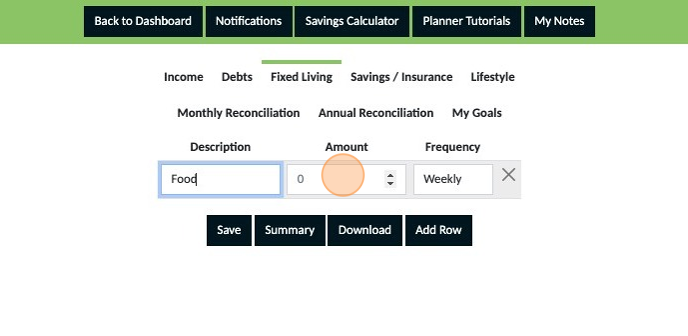
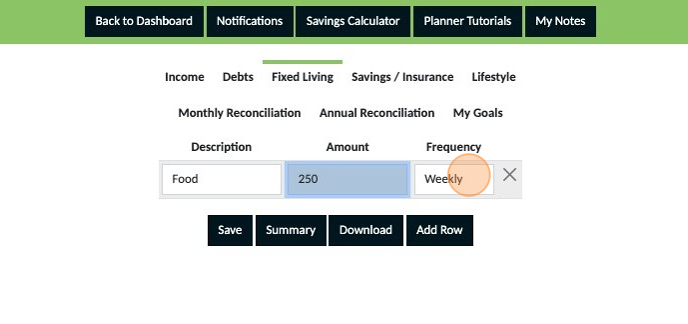
3. Click the "Name" field and enter a description of the expense.
4. Click the "Amount" field and enter an amount for the expense.
5. Using the 'dropdown' select the frequency of this expense. The frequency should represent how often this expense occurs. Do not average this out. Example if you shop weekly and spend $250 each week, enter $250 for the amount and select weekly. Do not enter $1,000 and select monthly.
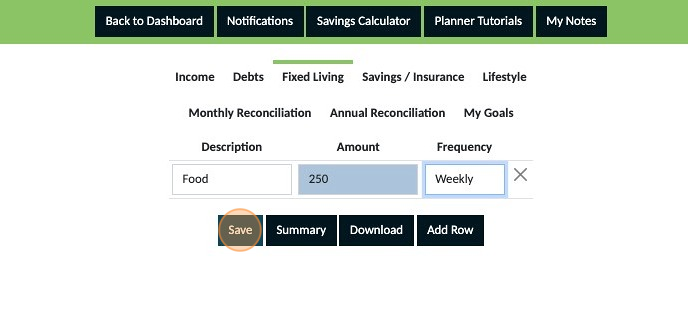
6. Click "Save"
7. Click "Add Row" and continue adding your expenses, the amount of each expense and frequency of payments.
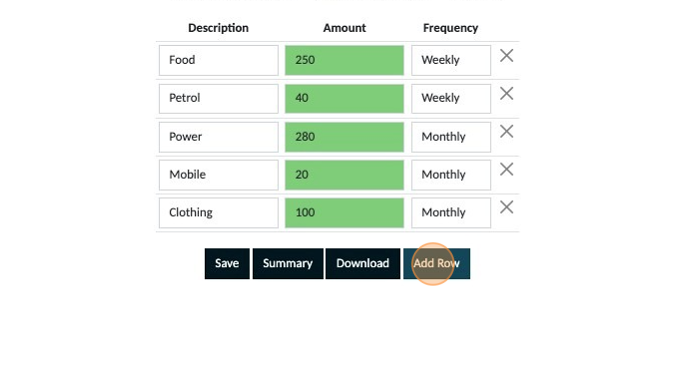
Your plan should include all expenses you have throughout a full year and not just the immediate expenses that you can think of. Take a moment to think about expenses that don't occur frequently such as clothing, quarterly or annual payments for services such as a garden bin or council rates etc
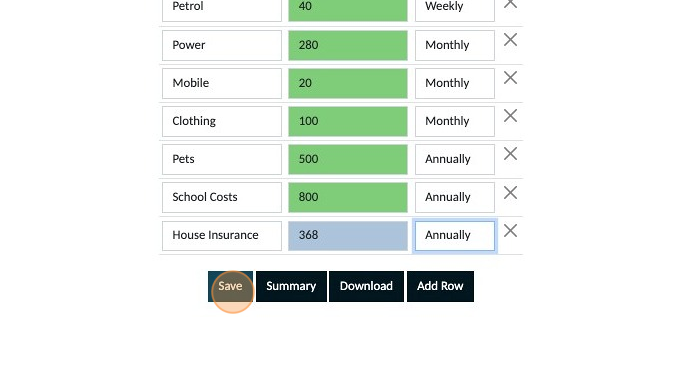
8. For expenses that do not occur regularly determine an amount you want to budget for. Example below: Clothing has been calculated at $100 monthly meaning $1,200 yearly is what is expected to be spent on clothing. Even though you may not spend money on clothing every month planning for this means that you will have the money for clothing when it is needed if you stick to your plan. Pets and school costs have been calculated as an annual amount by stopping to think about the various expenses that occur throughout the year for each expense.

Insurances belong in a different section of your plan with the exception of house insurance if you own your own home and pet insurance if you have pets.. Place House or pet insurance in this section and all other insurances in the 'Savings and Insurance' section of your planner.
9. Add the amount of your house insurance in this section and select the frequency your premiums are paid.
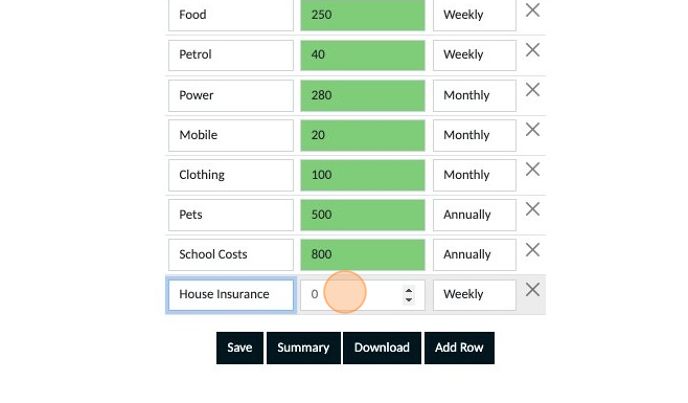
10. Once you have completed adding all of your fixed expenses make sure to click 'Save' Note If any of your entries still appear blue, they are not yet saved. Saved entries appear green so ensure everything is green before navigating away from this section of your planner.
If you want to remove an expense click the 'X' on the right hand side of the expense you want to remove. DO NOT REMOVE: Only use this function if you need to remove an expense when you are first creating your budget. If you have been using a budget for a period of time and no longer have an expense refer to the guide 'How to remove expenses from my plan'
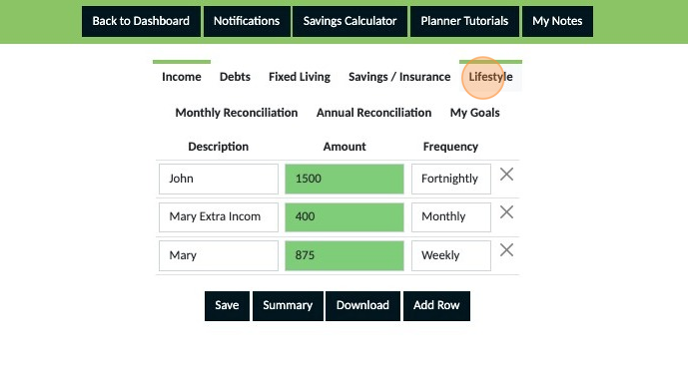
1. Click "Access Your Personal Planner Here"
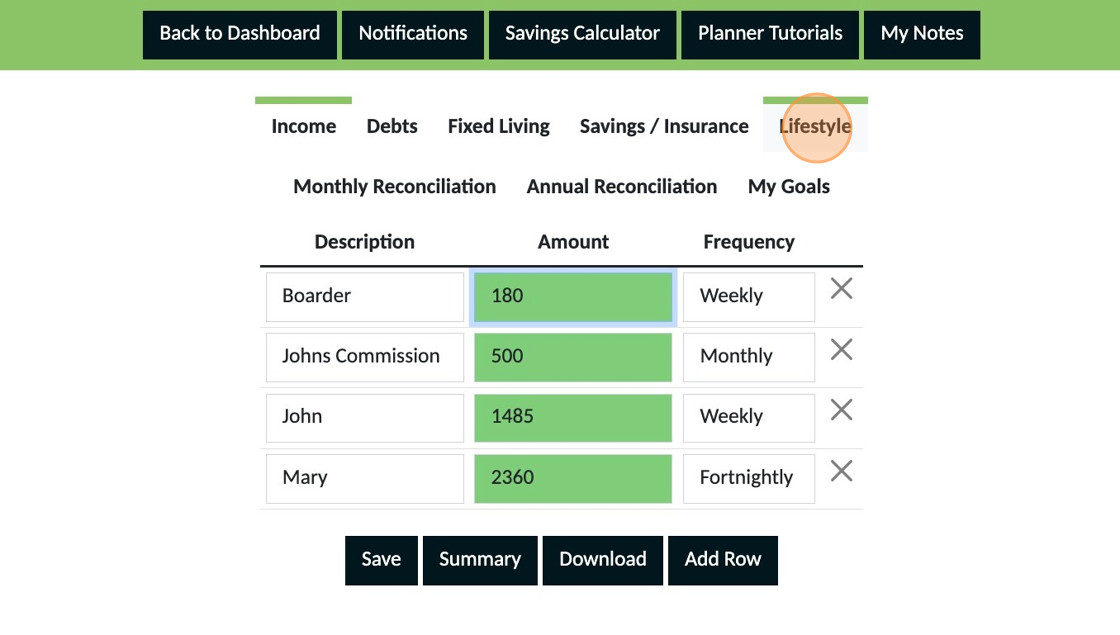
2. Click "Lifestyle"
3. Click the "Name" field and enter a description of your expense.
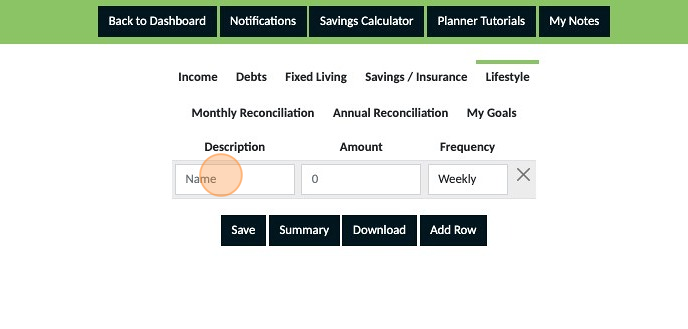
4. Click the "Amount" field and enter the amount for the expense.
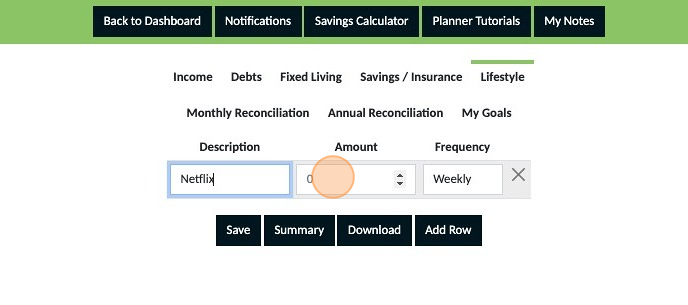
5. Using the 'dropdown' select the frequency that this expense occurs.
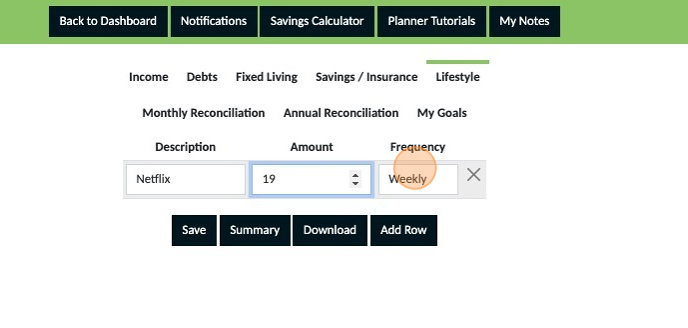
6. Click "Save"

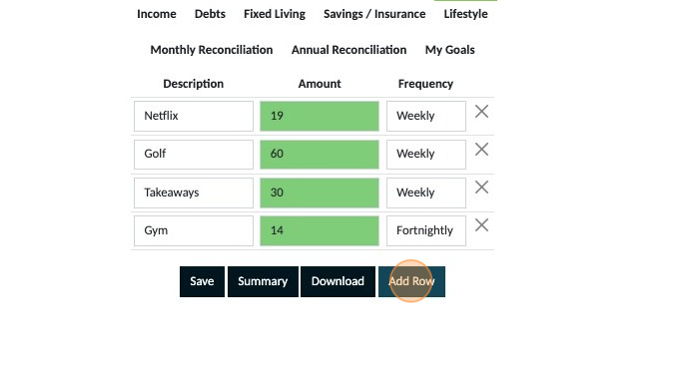
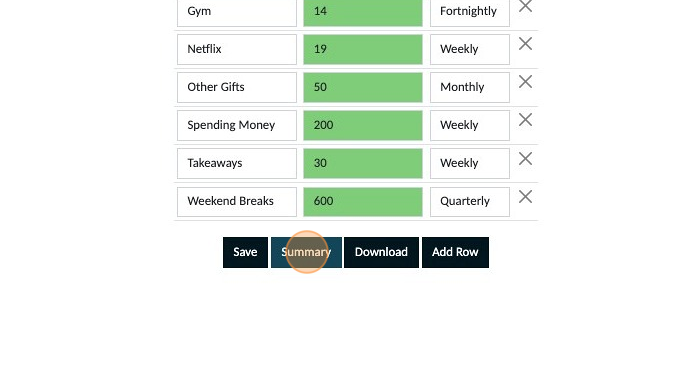
7. Click "Add Row" and continue adding all the expenses you can think of that fit into this category.
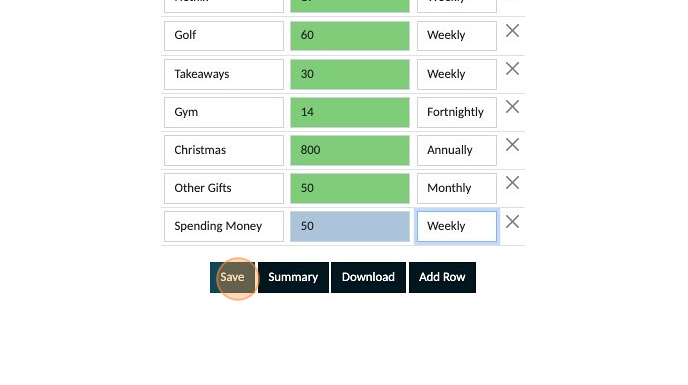
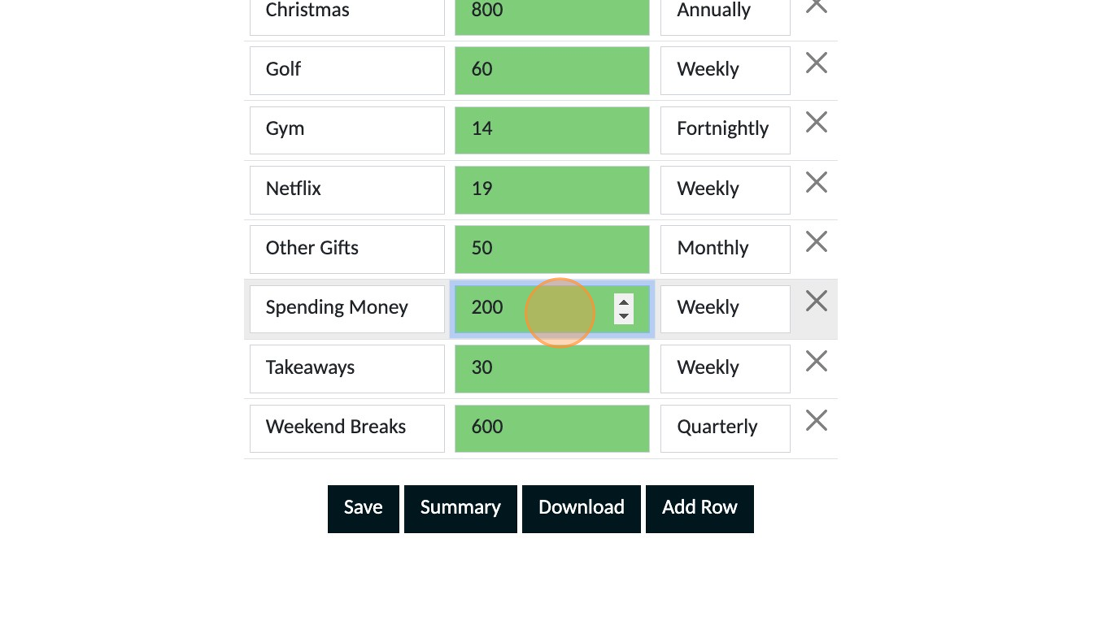
8. Some expenses don't occur frequently but they need to be planned for. Examples: Christmas, stop and think what does Christmas cost you? Enter an annual amount you want to budget for to cover your Christmas expenses. Then select 'Annual' for the frequency. Other Gifts is a great way to plan for incidental gifts throughout the year if you guy for people outside of your family members. Birthday gifts for family members should be added in your 'Fixed Expenses' section.

9. Add a row to budget a weekly spending allowance. Every successful budget has this regardless of income levels. Even if it is only $10 a week, having this planned means you don't have to feel guilty spending this money and where you spend it is up to you.

10. Once you have completed adding all of your lifestyle expenses make sure to click 'Save' Note If any of your entries still appear blue, they are not yet saved. Saved entries appear green so ensure everything is green before navigating away from this section of your planner.
If you want to remove an expense click the 'X' on the right hand side of the expense you want to remove. DO NOT REMOVE: Only use this function if you need to remove an expense when you are first creating your budget. If you have been using a budget for a period of time and no longer have an expense refer to the guide 'How to remove expenses from my plan'
1. Click "Access Your Personal Planner Here"
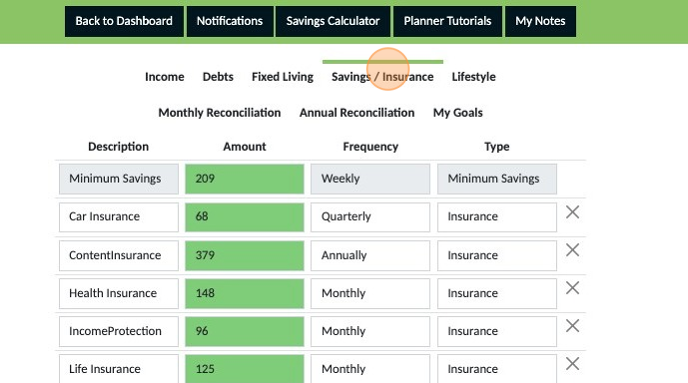
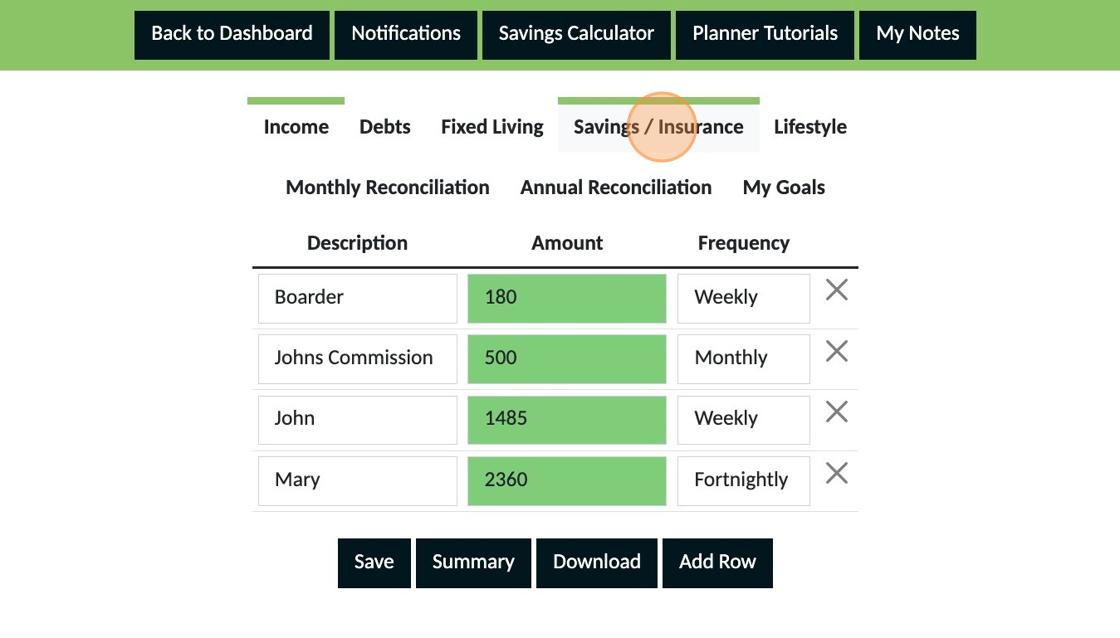
2. Click "Savings / Insurance"
3. Click "Add Row"
4. Click the "Name" field enter the type of insurance
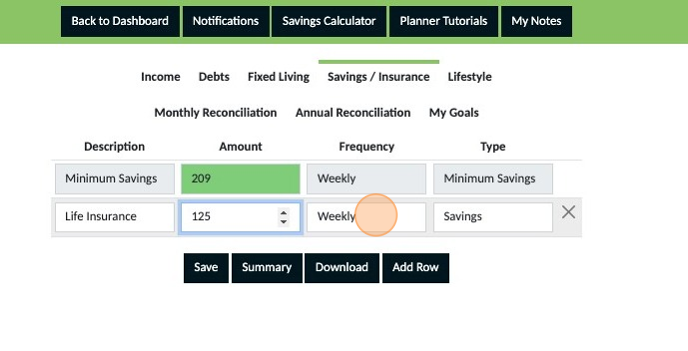
5. Click the "Amount" field and enter the premium you pay
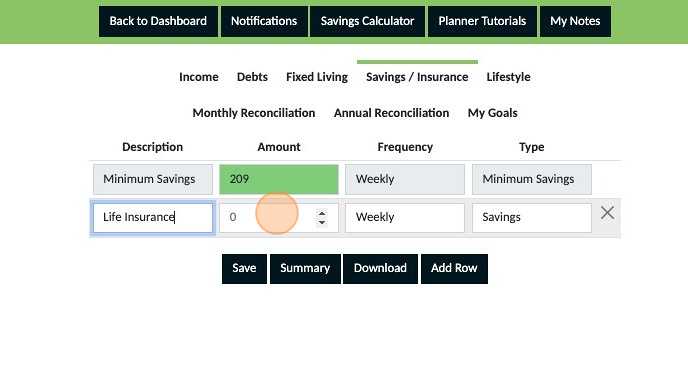
6. Using the dropdown select the frequency the insurance is paid
7. Using the dropdown box under 'Type' select Insurance.

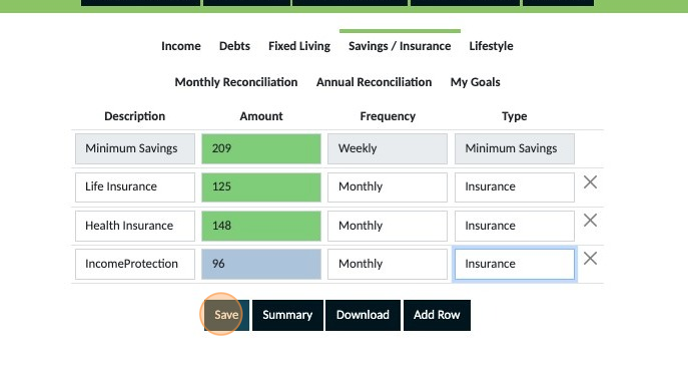
8. Continue adding rows and complete the same steps for each personal insurance premium you pay and then save.
If you have multiple insurances under one policy we recommend you get a copy of your policy and seperate each type of insurance in your plan. This makes it easier for you to see exactly how much each part of your comprehensive policy costs and reduces the risk of you accidentally cancelling any insurance or your whole policy because you think the total being paid doesn't seem worth it.
9. Next repeat the steps with your asset insurances such as car and contents. Remember house insurance belongs in your'Fixed Expenses' section not here. Then save.

Once you have completed adding all of your insurances make sure to click 'Save' Note If any of your entries still appear blue, they are not yet saved. Saved entries appear green so ensure everything is green before navigating away from this section of your planner.
1. Click "Access Your Personal Planner Here"

2. Click "Income" and have a look through your entries. Are you happy with what you have placed in your plan? If not, make any adjustments now and save them otherwise move on to the next step.

3. Click "Debts" and have a look through your entries. Are you happy with what you have placed in your plan? If not, make any adjustments now and save them otherwise move on to the next step.
Did you make any changes to your income or debts? If you have made any changes you will need to now recalculate your minimum savings capacity using the savings calculator. Then update the amount in your savings section and save it before you continue.
4. Click "Fixed Living" and have a look through your entries. Are you happy with what you have placed in your plan? If not, make any adjustments now and save them otherwise move on to the next step.
5. Click "Savings / Insurance" and have a look through your entries. Are you happy with what you have placed in your plan? If not, make any adjustments now and save them otherwise move on to the next step.
6. Click "Lifestyle" and have a look through your entries. Are you happy with what you have placed in your plan? If not, make any adjustments now and save them otherwise move on to the next step.

At this stage you should now be confident with the budget you have created.
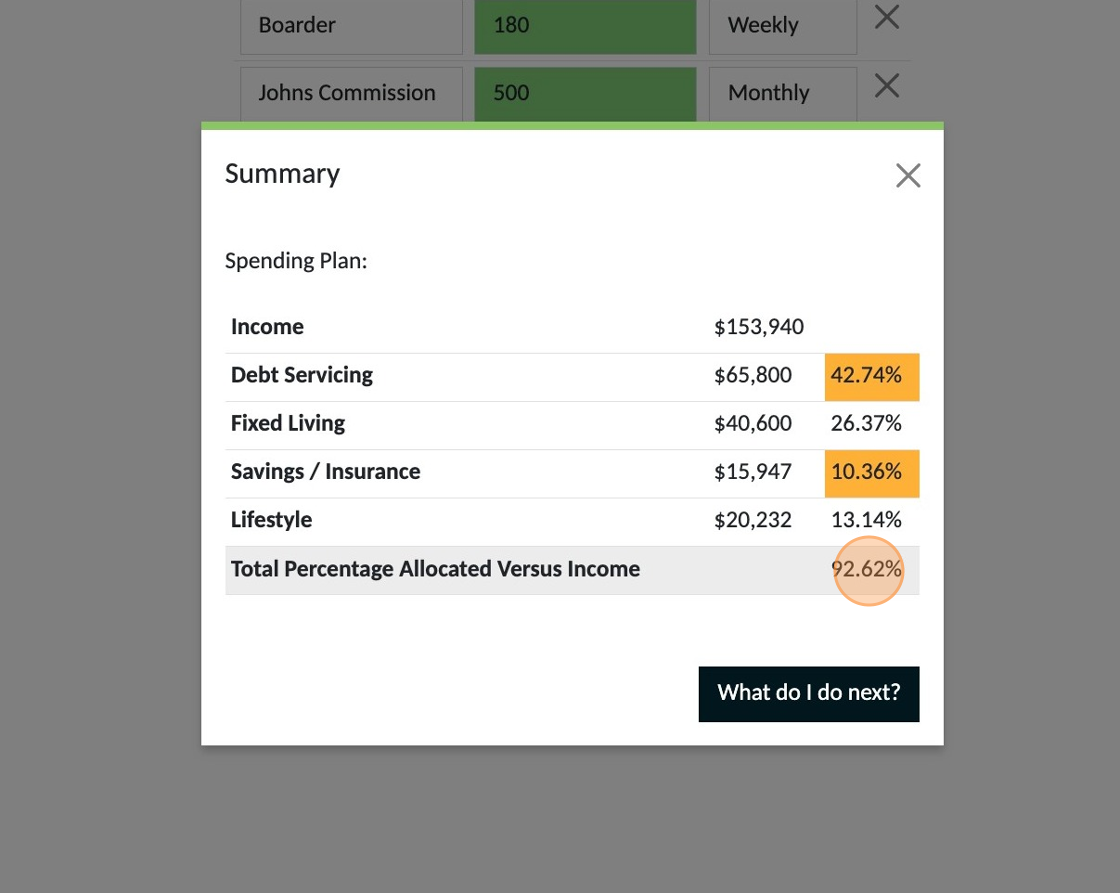
7. Click "Summary"
8. Your total annual income to budget with is shown here.
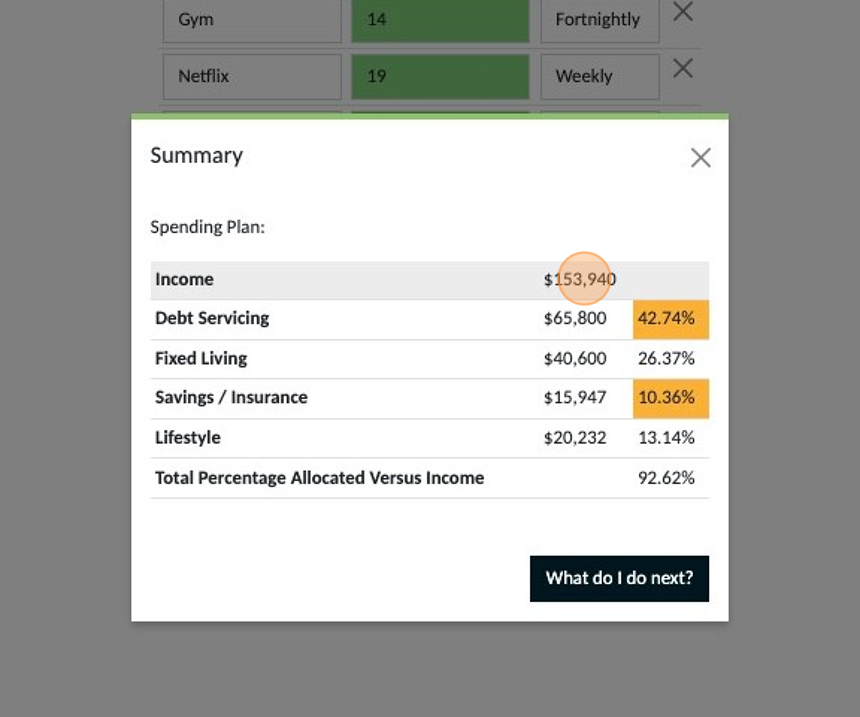
9. The total percentage of your annual income that you have allocated to your budget will be shown here.
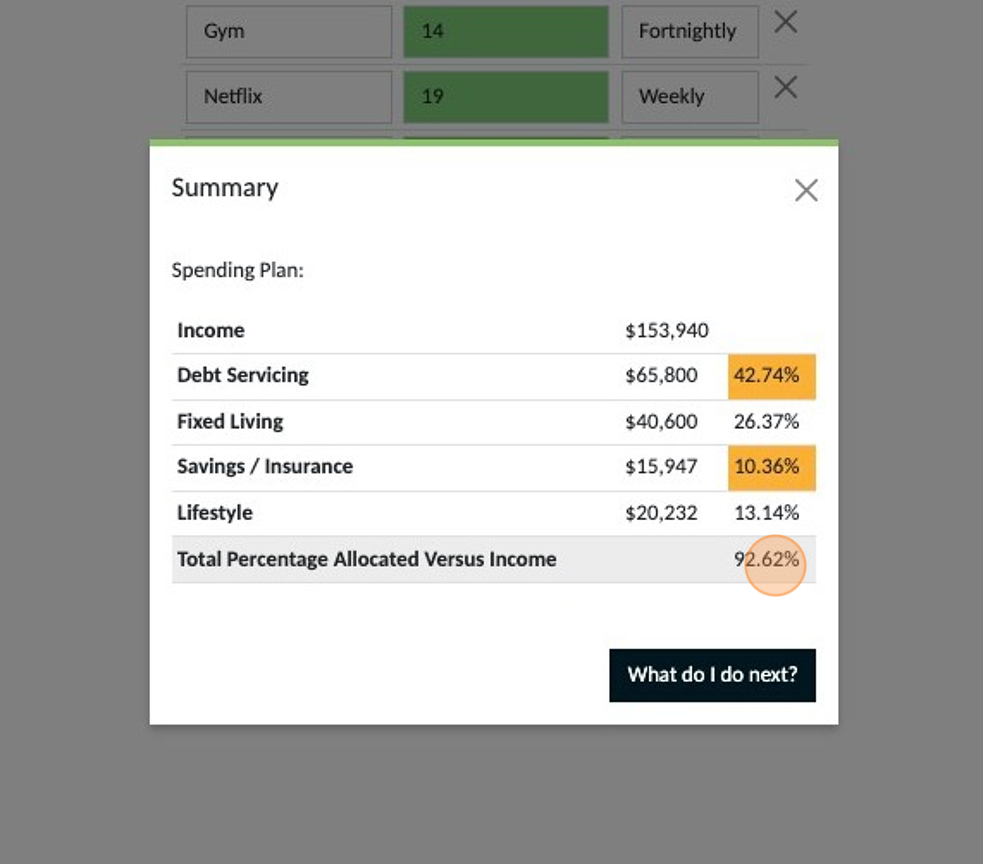
Your goal is to have 100% of your income allocated. If your percentage is less than 100% refer to 'My budget is less than 100% of my income' If your percentage is greater than 100% refer to 'My budget is greater than 100% of my income. Both of the above guides can be found in the 'How to' Section of the planner guides.
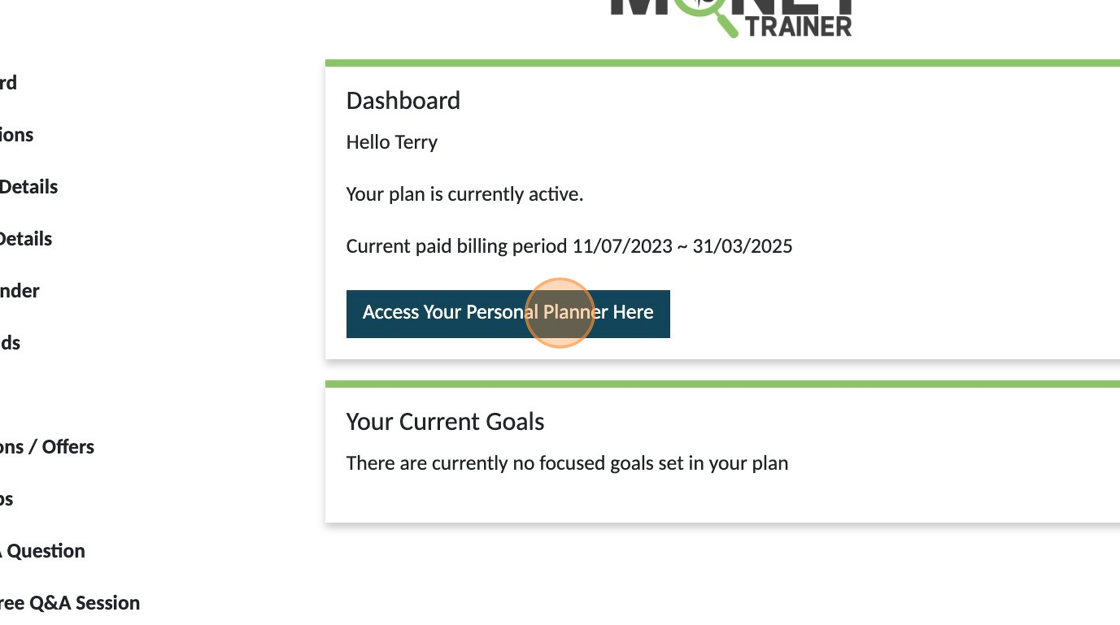
1. Click "Access Your Personal Planner Here"
2. Click "Summary"
3. Make a note of the total annual income amount
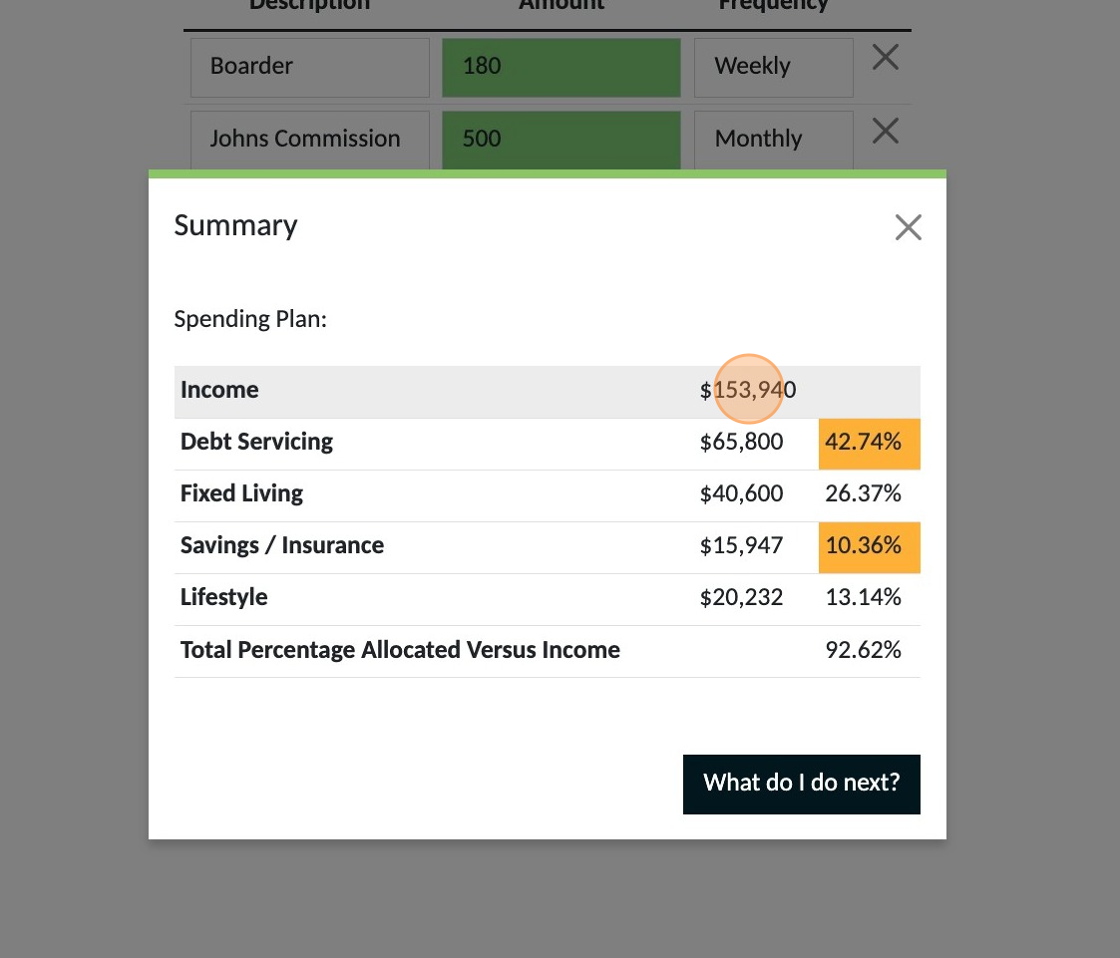
4. Make a note of the total percentage
5. Close the pop up window
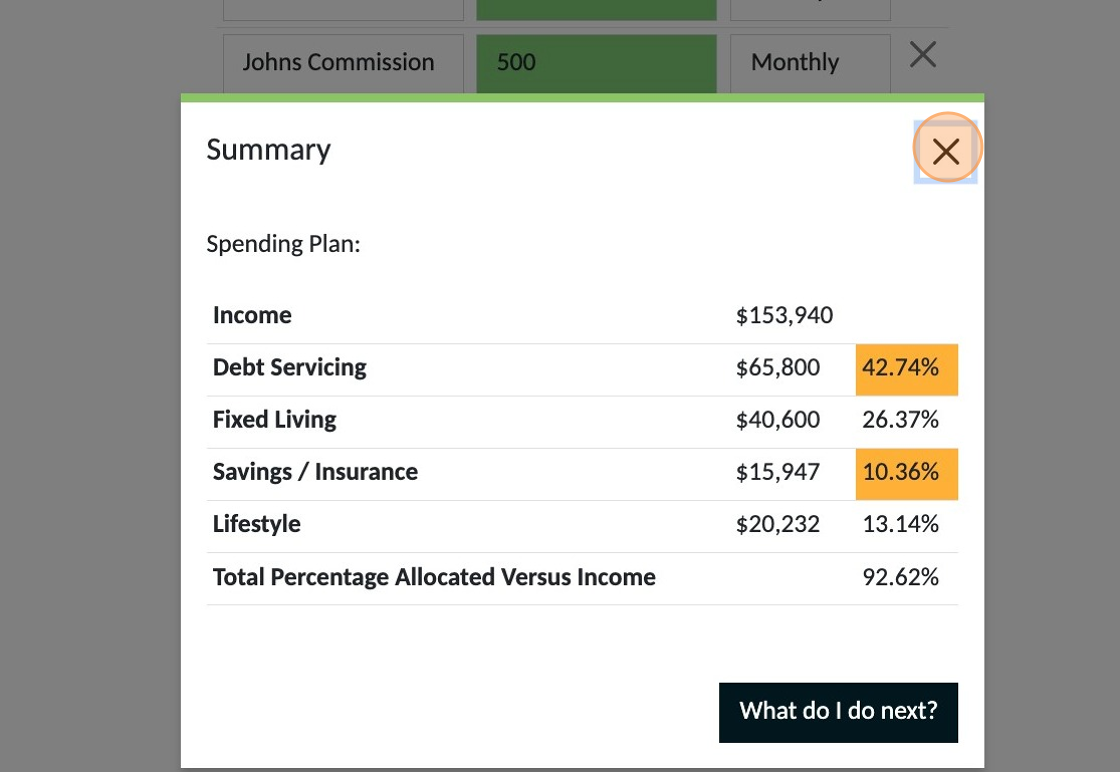
Next you need to complete the following calculation. This will calculate the amount of income not allocated anywhere specifically in your budget. Using the numbers shown in this document as an example. Total Annual Income = $153,940 Total Percentage = 93% (The amount showing rounded up) Balance to allocate = 7% $153,940 x 7% = $11,545 Divide this by 52 being the number of weeks in a year = $222
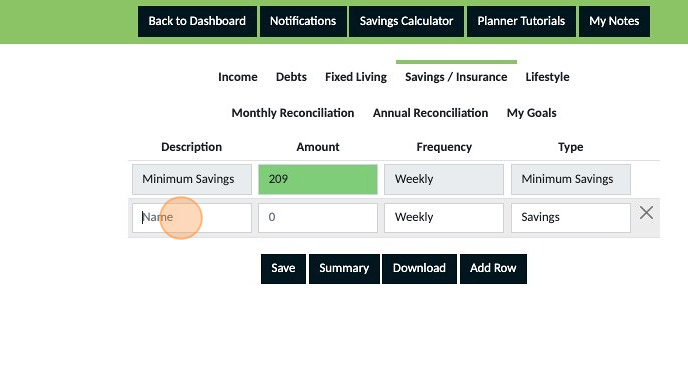
6. Once you have done the above calculation with your own numbers click "Savings / Insurance"
7. Click "Add Row"
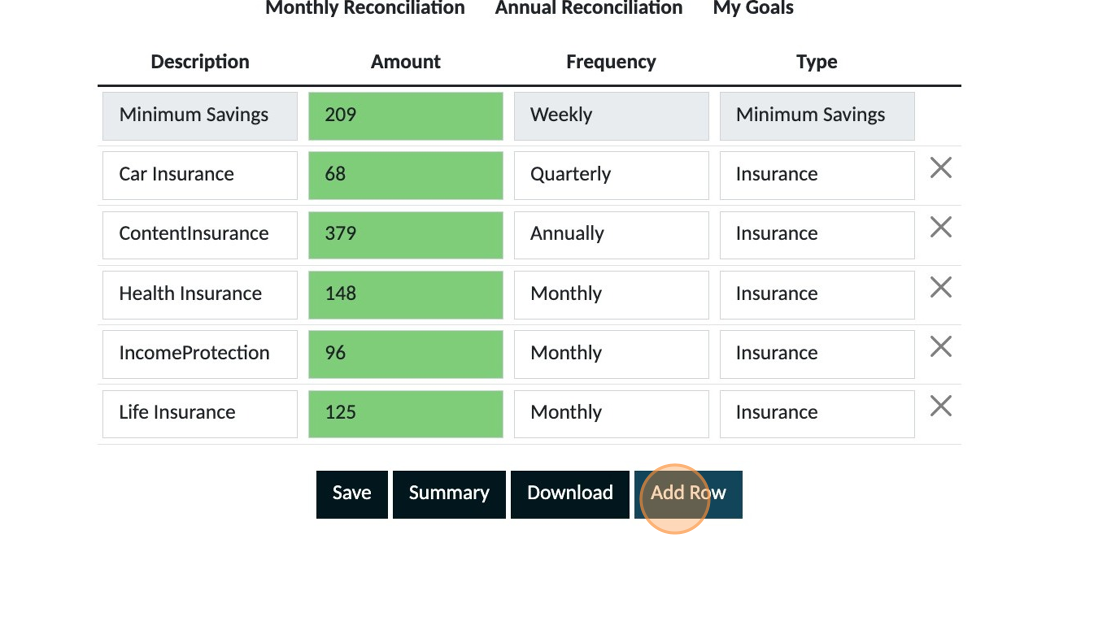
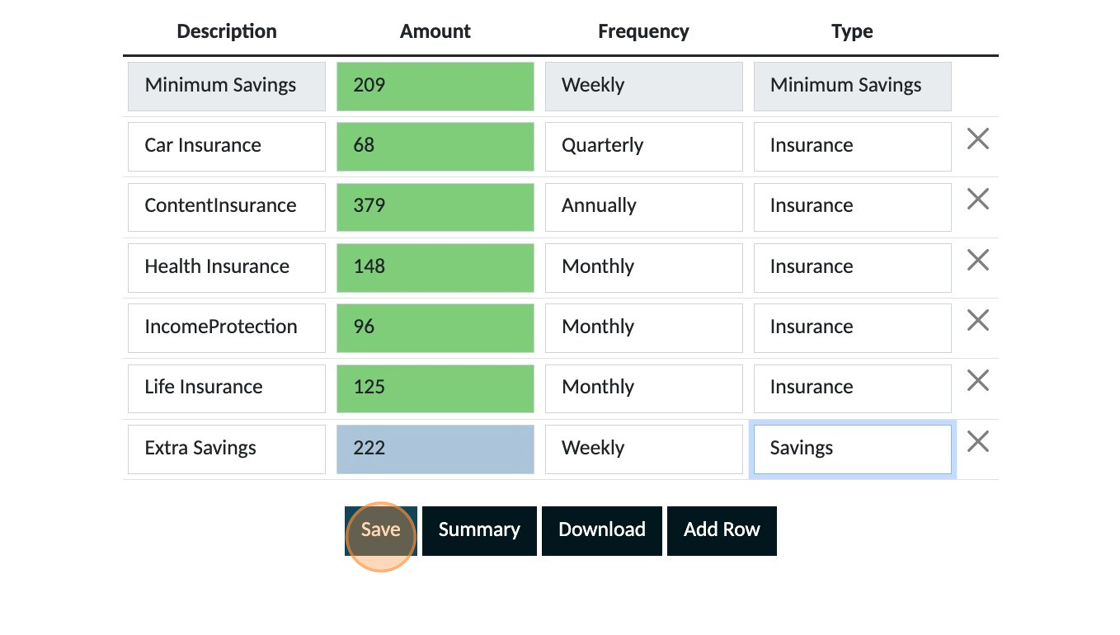
8. Label this 'Extra Savings', enter the amount and select'Weekly' for the frequency.

9. Select 'Savings' from this dropdown.

10. Click "Save"
11. Click "Summary"
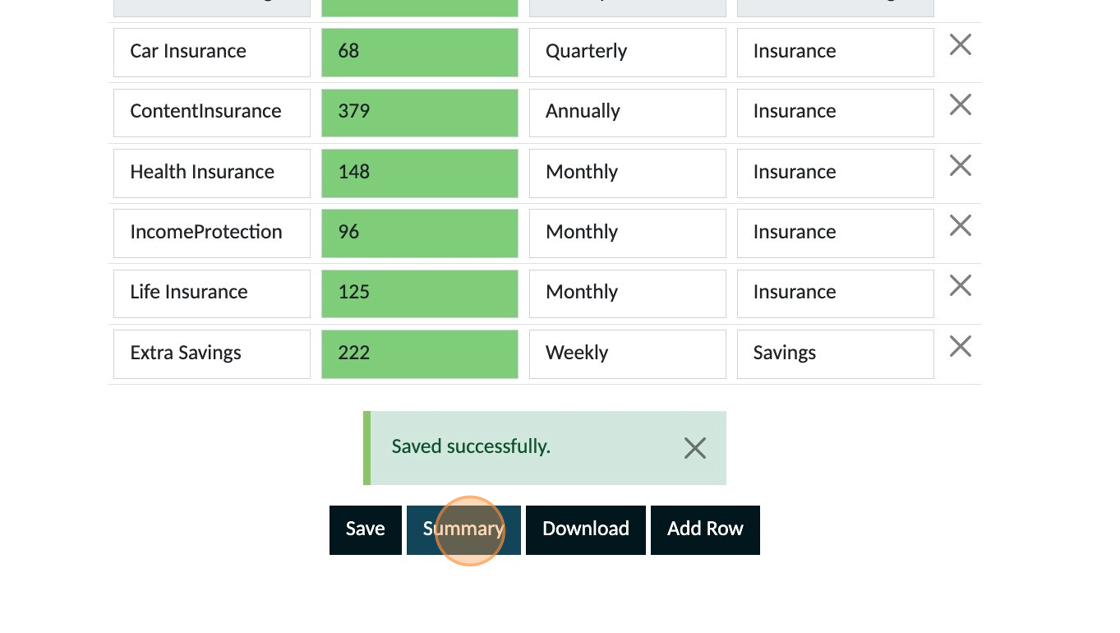
12. Check that your total percentage is now showing 100%

If your summary doesn't show 100% you will need to redo your calculation and make the adjustment to the amount you entered until you get 100% as the result. Once this shows 100% your budget/plan is not set up.
1. Click "Access Your Personal Planner Here"
2. Click "Summary"
3. In the screenshot you can see the summary indicates 103.50%. A balanced plan is having 100% of your money allocated.

The first area to consider changes is your income. Can you increase your income. IMPORTANT: Only make increase adjustments to your income if you are absolutely sure of the increase.
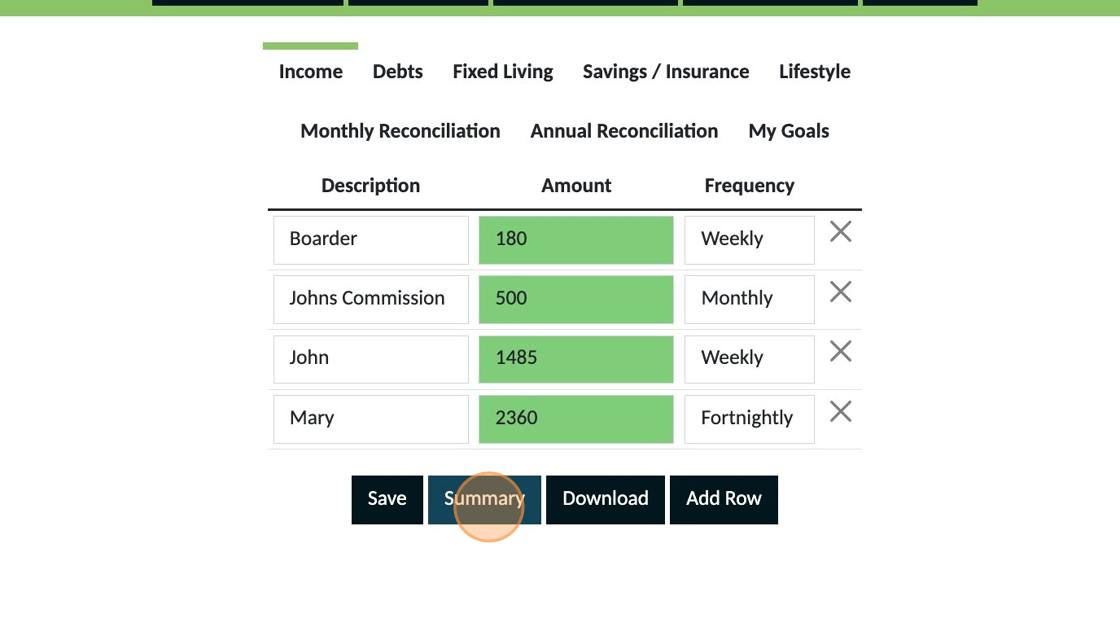
4. Click "Income"
5. If you can increase your income, add the details to your plan and make sure to save it. The example below shows the option of including a boarder for a period of time.

After you have made the change return to the summary and check if it is now at 100% or less. If the changes have resulted in achieving this you now have a balanced plan.
If you cannot make changes to your income or you have made changes but still don't ave your plan balanced at 100% or less, the second area to consider making changes is your 'Lifestyle' section.
6. Click "Lifestyle"
The reason we recommend you make adjustments in this area first if your income cannot be increased is that this is the section which will have the greatest likelihood of immediate changes. Weekly expenses make the biggest difference so start with these before considering expenses with a longer frequency
7. Reduce the amount you have allocated to any expense in this section where you know you can spend less and then save the changes you have made.
8. Click 'Summary' and check to see if your plan is now at 100% or less

If the changes have resulted in achieving this you now have a balanced plan. If you still exceed 100% move onto the third area, your debts section.
9. Click "Debts"
10. Are you making regular payments to credit or store cards that are in excess of your minimum payment? If you reduced the amount to your minimum payment, would this balance your plan?

Alert: You must make the minimum payment. Do not reduce the amount lower than what you are required to pay. Reducing payments to your minimum payment should be seen as a temporary option to get your plan balanced and started. Once you are monitoring your actual expenses and are sticking to your plan you can look at strategies to increase payments again to your short term debts to pay them off faster.
NOTE: If you have multiple short-term debts an option may be to consider consolidating all loans into one. We recommend you only consider this step after taking professional advice to ensure it is the right option for you.
If you want assistance working this out or you are struggling to get your plan to balance you can book a FREE Q&A Session from the dashboard and we can look at your plan with you to help.
1. Click "Access Your Personal Planner Here"
2. Click "My Goals"
3. Click "Add Row"

4. Give your goal a description

5. Enter the amount you want to save for this goal

6. Select the date you want to start saving for this goal
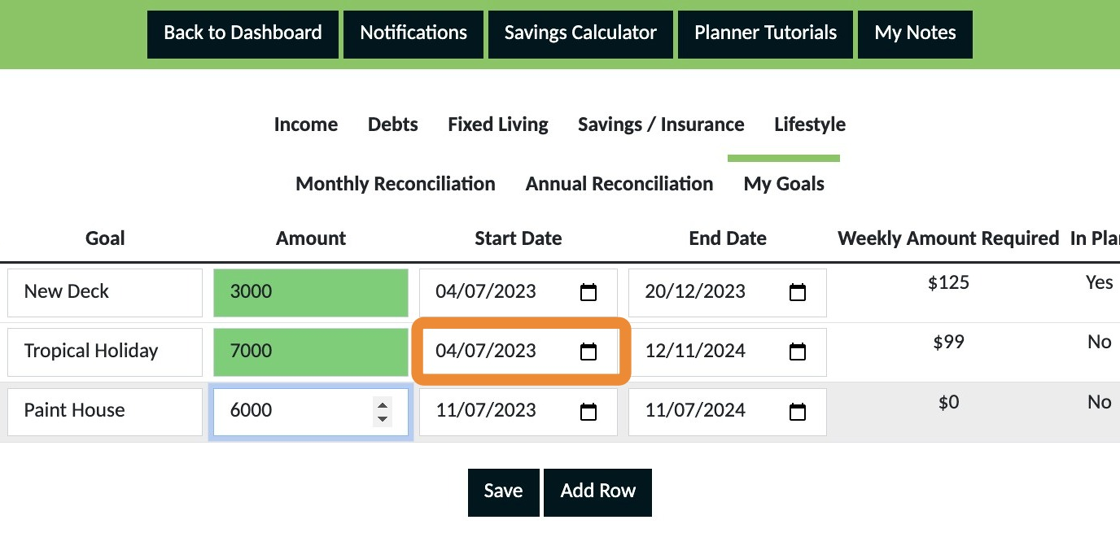
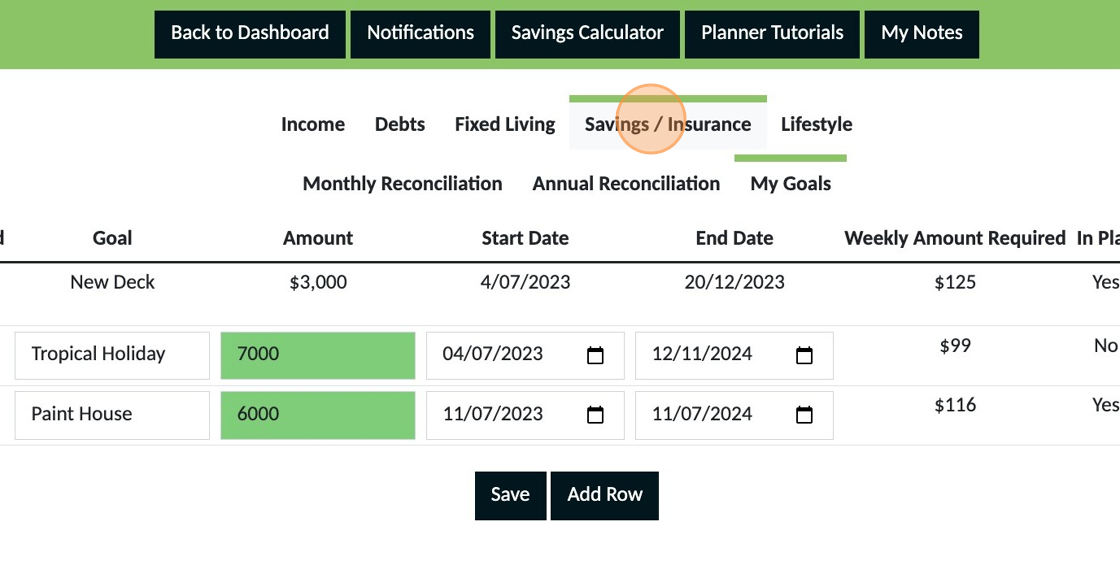
7. Select the date you want to have the money required to pay for this goal

8. The amount you need to save weekly will appear here next.

9. "No" indicates this goal has not yet been added to your plan.

10. The 'X' is used to remove a goal from the goals section.

11. You will be prompted to make sure you want to remove a goal

12. To add a goal to your plan click the + button next to the X

13. Your goal will be added to your plan and appear in the 'Savings/Insurance section.

14. Click "Save" and your goal is now part of your plan.
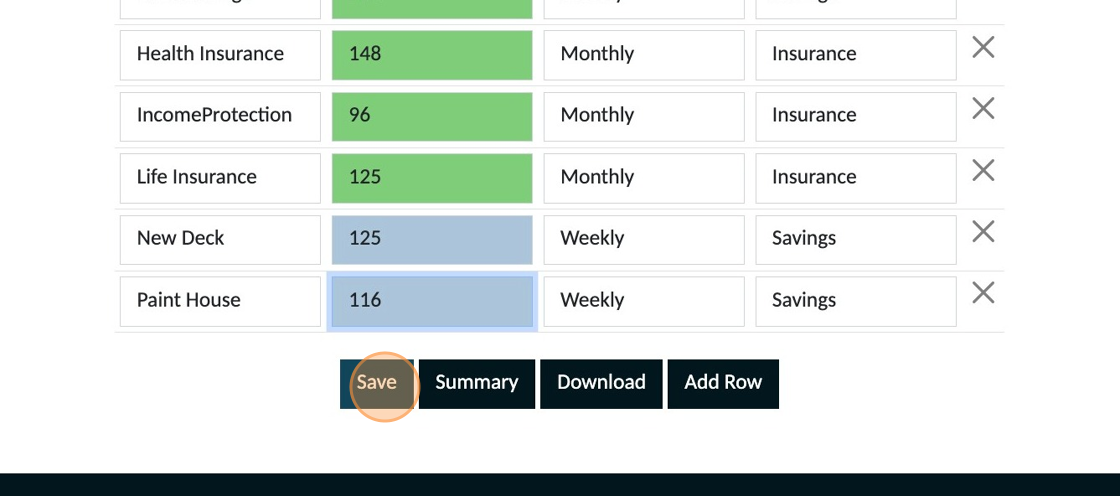
Alert: Adding a goal will change the balance of your plan. Check the 'Summary' to see what adjustments you need to make to your other expenses so that your plan remains balanced at 100%. If your summary is more or less than 100% refer to the guide for how to adjust your plan when it doesn't equal 100% so that changes can be made to ensure you can achieve your goals.
15. Any goals added to your plan appear on your dashboard

16. You can also see how much you are aiming to save and the date that you want to achieve this.

17. As you allocate money to savings for your goals you will also be able to see how much you have saved in both a dollar amount and a percentage of your total amount needed.

18. When a goal has been achieved tick the box and click 'Save'

Keeping achieved goals here is a powerful way of reminding yourself of your success which in turn empowers you to achieve other goals.
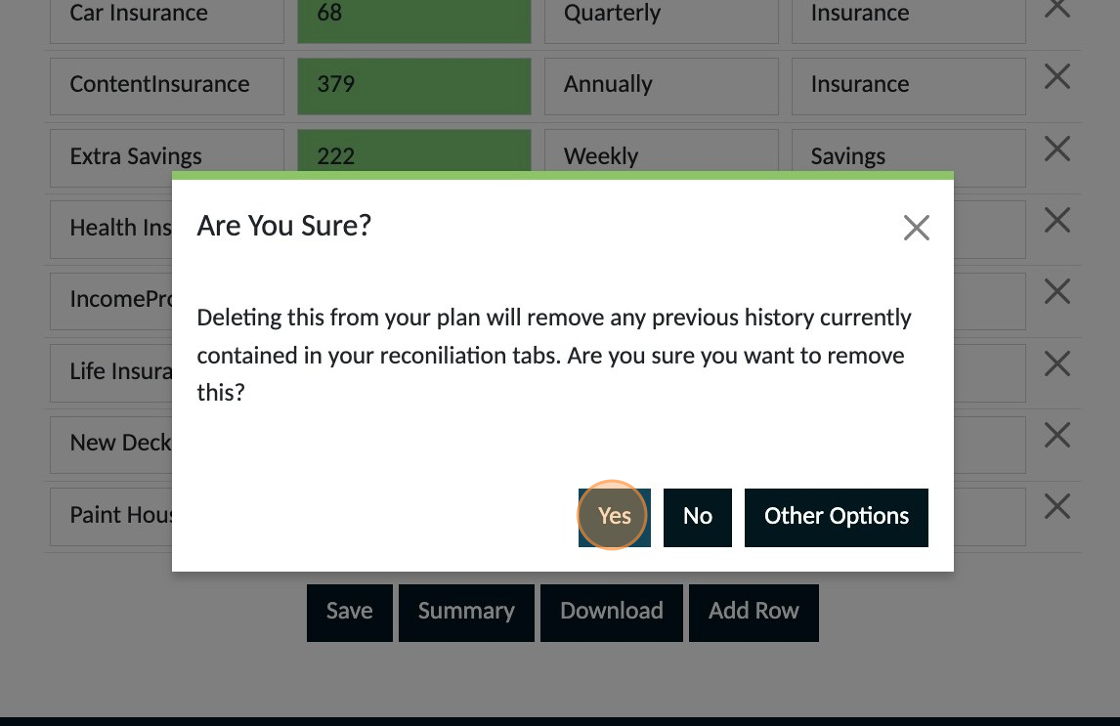
19. Once a goal has been achieved you will also need to remove it from future planning. Go to the 'Savings/Insurance' section
20. Find the row for the goal you have now achieved and click the X button to remove your goal

21. Click "Yes" from the options in the pop up that appears.
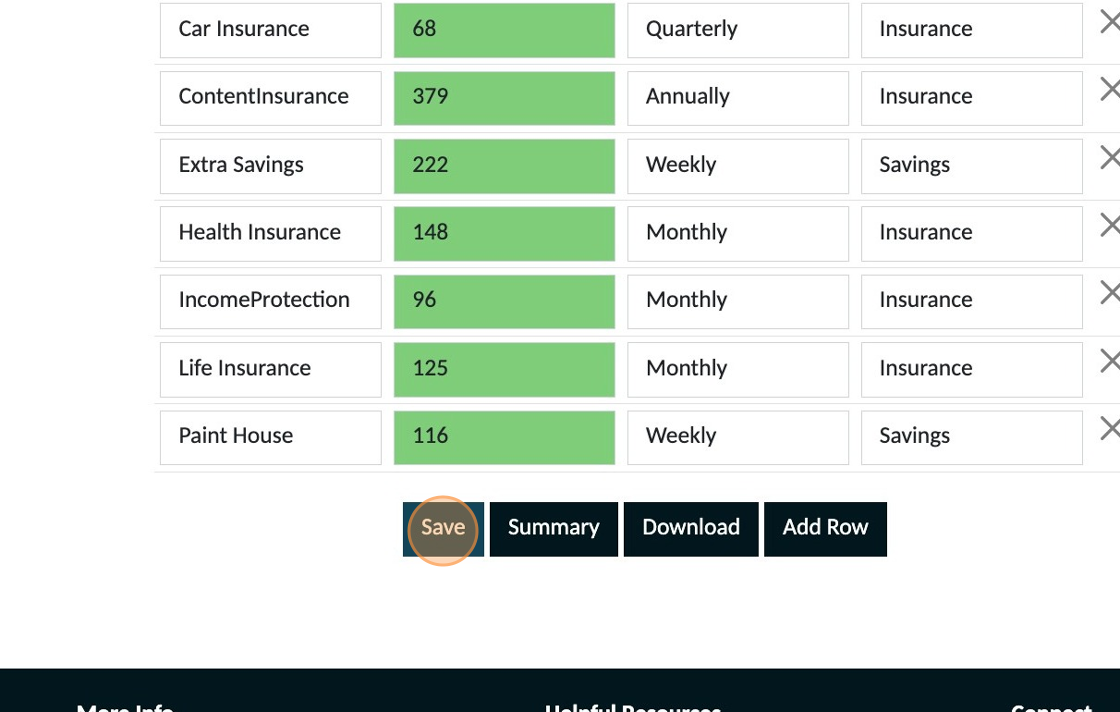
22. Click "Save"
1. Click "Access Your Personal Planner Here"

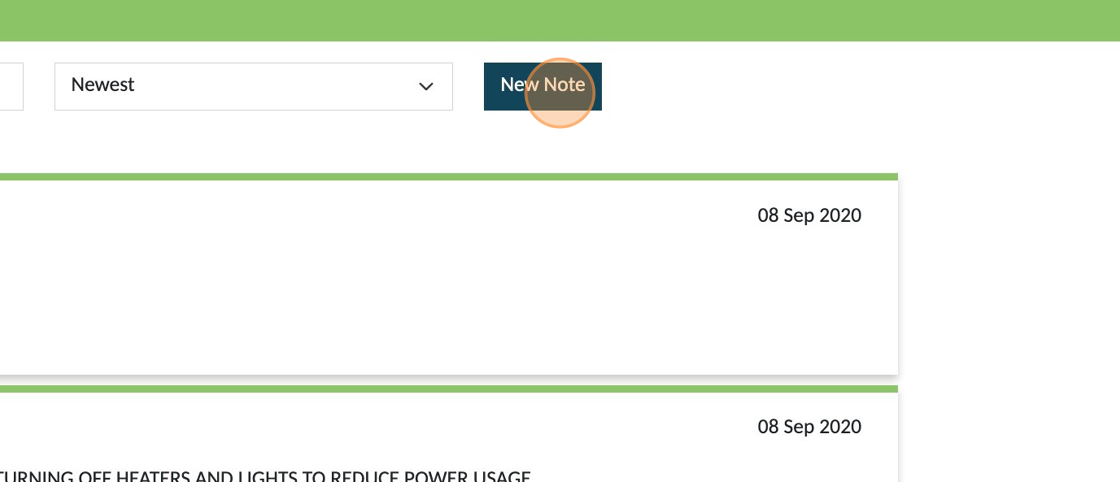
2. Click "My Notes"

3. To add a new note click "New Note"
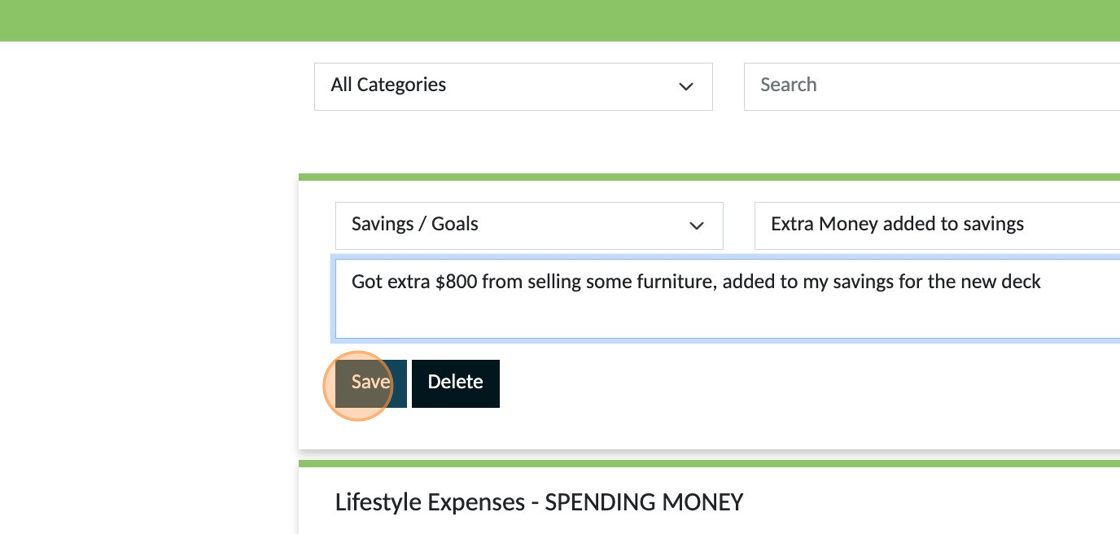
4. Use this dropdown to choose a category for your note.

5. Click the "Enter your title" field and give your note a title

Make the title clear and relevant so that it can be easier to find later if you have a lot of notes saved
6. You can make any notes in this section.

7. Click "Save"
8. To make changes to any existing notes click "Edit" and remember to click save after you have made any changes
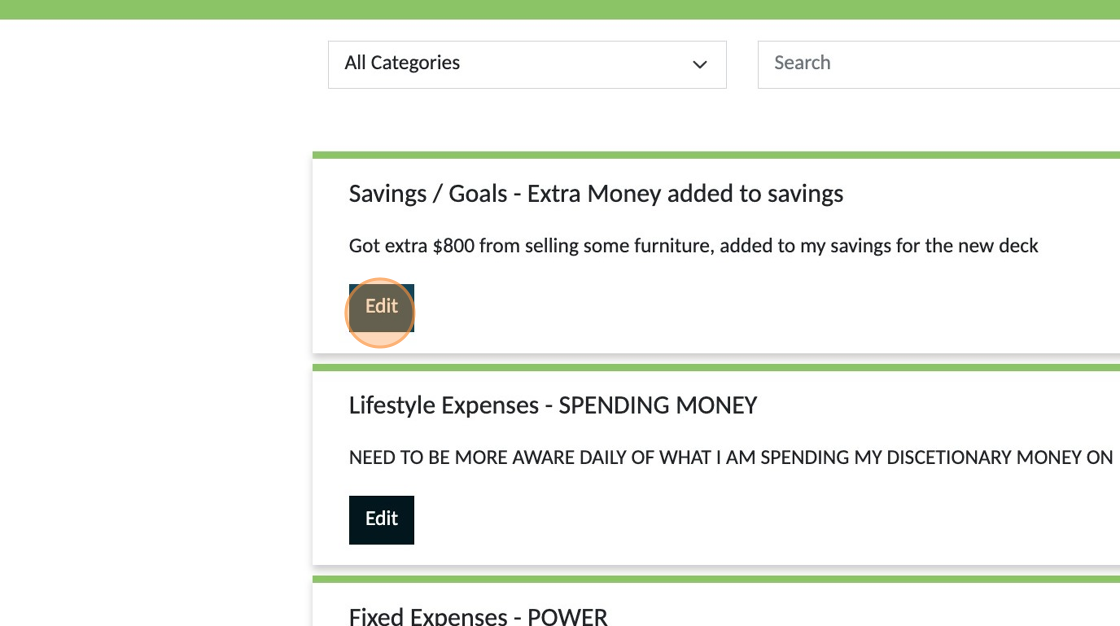
To remove any old notes you no longer want to keep use the 'Delete' button. You will be prompted to confirm you really want to delete the note before it is permanently removed.
9. You can find notes by using the "Search" field.

10. Type in a keyword and all notes that contain the word in either the title or content of the note will appear

The search function locates key words in both the title or note content.
11. Having 'Newest' selected in the Sort window means notes will appear from newest to oldest

12. Having 'Recently Updated' selected in the Sort window means notes will appear from the most recently added or edited note.

On the righthand side you will see the date of each note. If you make any changes to the note the date will be updated to the date the change has been saved. If you are making ongoing changes to any specific note we recommend you record the date inside the note for each change also.